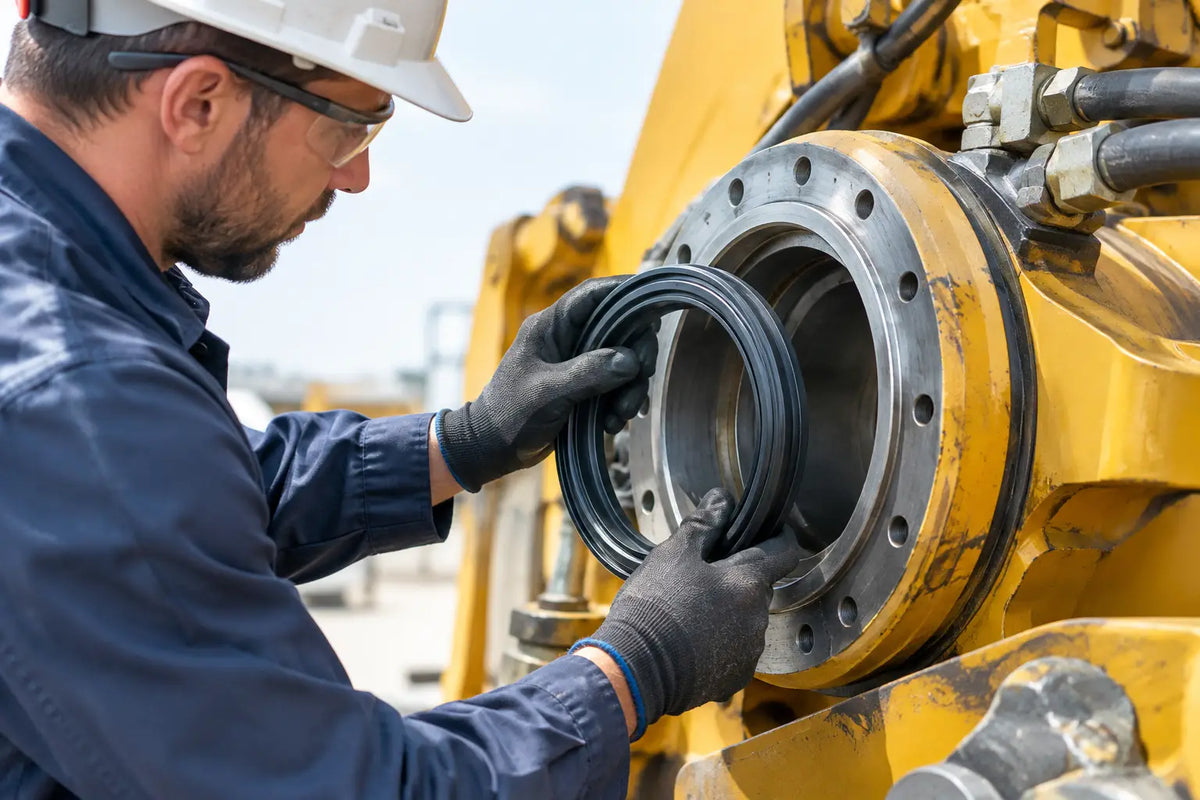
A new rotary seal can fail before the machine completes its first shift if it is installed over a scored shaft, driven in unevenly, or fitted in the wrong direction. This rotary seal installation guide is written for repair shops, fleet teams, and mechanics who need reliable results on final drives, gearboxes, hubs, pumps, motors, and other rotating equipment where an oil leak means lost lubricant, contamination, and avoidable downtime.
The seal itself is only one part of the repair. Correct part matching, bore condition, shaft condition, installation depth, and lubricant choice all determine whether the replacement holds pressure and excludes dirt in real operating conditions.
Confirm the Rotary Seal Before Installation
“Rotary seal” can describe several sealing designs, including radial shaft oil seals, cassette seals, hub seals, and mechanical face seals. Do not assume two seals are interchangeable because their outside diameter appears similar. Lip configuration, width, casing material, dust lip design, spring type, rotation direction, and pressure capability can differ.
Start with the OEM part number, equipment model, component location, and measured dimensions. For a conventional oil seal, verify shaft diameter, housing bore diameter, and seal width. For a cassette or unitized seal, confirm the complete assembly dimensions and whether a separate wear sleeve is included. On excavators and wheel loaders, identify the application precisely: travel motor, swing gearbox, axle hub, differential, hydraulic pump, or PTO location. A seal that fits the bore but is not designed for the application is not a correct repair.
Also verify the material. Nitrile is common for mineral oil and general-duty applications. Fluoroelastomer is often specified where heat, fuel exposure, or higher operating temperatures are present. Polyurethane, PTFE, and specialized elastomers may be used in particular rotary or pressure applications. Match the original specification unless there is a documented reason to upgrade.
Inspect the Shaft and Housing First
Installing a new seal over damaged running surfaces usually produces a repeat leak. Clean the shaft and bore fully, then inspect them under good light. Look for grooves where the sealing lip runs, rust pitting, burrs, fretting, embedded debris, and chrome damage. A fingernail catching in a shaft groove is a practical warning sign that the running surface needs attention.
Measure the shaft and bore when possible. A worn shaft can be undersize even when damage is not obvious. An oversized or distorted bore may not retain the seal’s outer diameter correctly. On housings with previous seal failures, check for spinning seals, corrosion behind the outer case, or damage caused by removal tools.
A shaft sleeve may be the right repair where the groove is limited to the lip track. If a sleeve is used, confirm that the replacement seal is compatible with the sleeve diameter and that the lip runs on a smooth, properly finished surface. Do not move the seal to a different depth simply to avoid a groove unless the housing design permits it and the lip will remain correctly supported.
Before fitting the seal, remove all sharp edges from keyways, splines, threads, and shoulders. Cover these features with a proper installation sleeve or thin protective tape. The sealing lip must never be dragged across a sharp edge.
Prepare the Seal and Installation Tools
Keep the replacement seal clean and in its packaging until the component is ready. Dirt on the lip, spring, or outer case becomes an immediate leak path or abrasive source. Handle spring-loaded seals carefully. If the garter spring comes off or is stretched during installation, replace or correctly reassemble it only if the seal manufacturer permits it.
Use a seal driver that contacts the rigid outer case, not the flexible sealing lip. The driver should be close to the seal’s outside diameter and apply force evenly around the circumference. A press is preferred for many shop repairs because it gives controlled, straight-line force. In-field work may require a driver and hammer, but light, even strikes are critical.
Avoid improvised tools that concentrate force on one side of the seal. A socket that is too small can deform the metal case. A punch can dent the shell. Prying against the rubber lip can separate the sealing element from the case. These shortcuts often create a leak that is blamed on the replacement part.
Lubrication depends on the design and manufacturer instruction. For most conventional radial lip seals, apply a light film of the operating lubricant to the sealing lip and shaft running surface. This prevents a dry start. Do not pack the lip cavity with excess grease unless specified. Too much grease can dislodge a spring or retain contaminants.
For seals with a rubber-coated outside diameter, installation may be dry or lightly lubricated depending on the manufacturer’s recommendation. Metal-cased seals sometimes use a thin coat of approved sealant on the outside diameter where the housing condition requires it. Use sealant sparingly. Excess material can enter the component or prevent the seal from seating fully.
Rotary Seal Installation Guide: Fit It Square and at the Correct Depth
Confirm the seal orientation before it reaches the bore. In most pressure-retaining radial seals, the primary lip and garter spring face the lubricant or pressure side. The dust lip faces outward toward contamination. This is common, but not universal. Double-lip, bidirectional, cassette, and mechanical seal arrangements must be installed according to their specific design.
Position the seal squarely at the bore entrance. Start it by hand as far as possible, checking that it is not cocked. Then drive or press it in with steady, even force. Watch the gap around the seal as it enters. If one side advances faster, stop and correct it rather than forcing the seal home.
Seat the seal to the original installation depth. Many housings have a shoulder that establishes the depth. Others require the seal face to sit flush with the housing surface, while some designs are intentionally recessed. Do not assume flush is always correct. Compare the original position, service information, and component design before removal whenever possible.
For cassette and unitized seals, do not dismantle the assembly or remove its installation ring until instructed. These seals often rely on a controlled relationship between the inner and outer elements. Installation rings and guides are there to protect the sealing surfaces and maintain alignment during assembly.
Once installed, inspect the seal face. It should be level, undamaged, and fully seated. Check that the lip has not folded under and that the spring remains in place. Rotate the shaft by hand where practical. It should turn smoothly without a sharp drag, binding, or visible distortion at the seal.
Reassemble Cleanly and Test the Repair
A correctly installed seal can still fail if contaminated lubricant, blocked breathers, worn bearings, or excessive runout are ignored. Before reassembly, clean mating parts and replace damaged O-rings, gaskets, retainers, and locking hardware. Confirm bearing condition and shaft play. Excessive radial movement quickly destroys a new lip seal.
Fill the component with the correct lubricant type and quantity. Underfilling causes heat and wear. Overfilling can increase churning and force oil past marginal sealing surfaces. Check breathers and vent passages, especially on axles, gearboxes, and final drives. A blocked breather can build pressure and push oil past even a properly installed seal.
After assembly, run the machine at low speed where safe to do so, then inspect for leakage. Check again after the component reaches operating temperature and after the first working cycle. A light residue from handling should be cleaned away before testing so a fresh leak is easy to identify.
If leakage returns immediately, do not simply install another seal. Recheck orientation, seal depth, shaft finish, housing bore condition, spring position, lubricant level, venting, and bearing play. Repeated failures usually point to a component condition or fitment error rather than a bad seal alone.
Common Installation Errors That Cost Time
The most frequent problems are preventable: fitting the seal backward, damaging the lip on splines or threads, pressing on the wrong part of the seal, installing it cocked, and using the wrong part number. In heavy equipment service, contamination is another major cause. A clean bench, clean tools, and protected components matter as much as the press force used during installation.
Part verification should happen before the machine is stripped down whenever possible. Confirm the equipment make, model, serial range where applicable, component application, OEM number, and dimensions. For urgent repairs, this reduces the risk of receiving a seal that is close but not correct. MXPseal supports this process with equipment-specific sealing parts and dimensional product identification for practical replacement matching.
A rotary seal is a low-cost part compared with the labor required to reopen a final drive, pump, gearbox, or hub. Take the extra few minutes to inspect the running surfaces, protect the lip, and seat the seal squarely. That is usually the difference between a repair that returns the machine to work and one that comes back leaking before the next service interval.