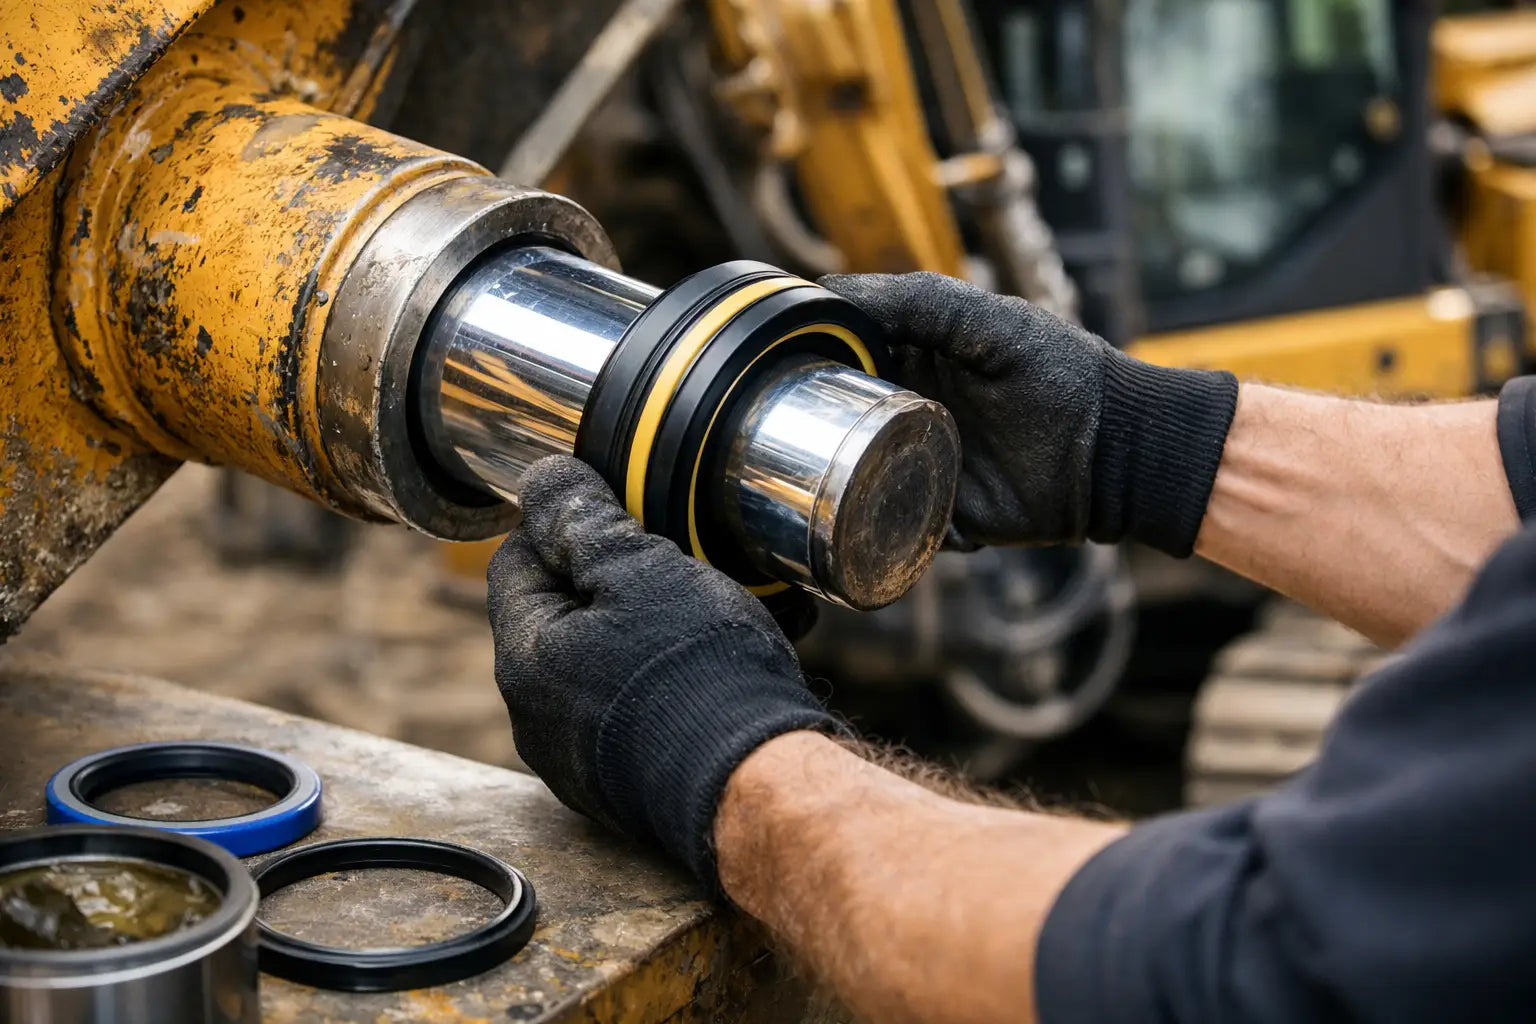
A boom cylinder that drifts, leaks at the rod, or loses lifting force can stop an excavator long before the rest of the machine needs attention. Knowing how to install boom seals correctly helps prevent a repeat repair, protects the rod and barrel, and gets the machine back to productive service without unnecessary downtime.
Boom seal replacement is not only about fitting new rubber and polyurethane components. The correct result depends on matching the seal kit to the exact cylinder, controlling contamination during assembly, installing every profile in the right direction, and testing the cylinder before the machine returns to work. A seal that looks close is not necessarily the right seal.
Confirm the Correct Boom Seal Kit First
A boom cylinder kit may include a rod seal, buffer seal, wiper seal, piston seal, wear rings, O-rings, backup rings, and gland packing. The exact combination depends on the cylinder manufacturer, machine model, serial range, and cylinder revision. Similar excavator models can use different bore sizes, rod diameters, gland dimensions, or piston arrangements.
Start with the machine make and model, then confirm the boom cylinder part number or the OEM seal-kit number where available. If the original number cannot be read, measure the cylinder components after disassembly. The key dimensions are rod diameter, cylinder bore, piston diameter, gland housing diameter, seal groove width, and groove depth.
Do not order a kit based only on the machine model when there are multiple boom cylinder options. This is common on excavators with different arm lengths, production years, or regional specifications. A part-number or dimensional match is the safest route. MXPseal supplies machine-specific BOOM KIT options as well as dimensional seal replacements where an OEM kit is unavailable.
Prepare the Cylinder and Work Area
Hydraulic seal installation begins before the gland is removed. Park the machine on firm, level ground and lower the boom to a secure position. Relieve hydraulic pressure according to the equipment manufacturer’s service procedure. Support the attachment and cylinder safely. Never rely on hydraulic pressure alone to hold a raised boom.
Disconnect hydraulic lines only after pressure is relieved, then cap or plug every open port and hose immediately. Dirt entering an open hydraulic line can travel through the system and damage pumps, control valves, and newly installed seals.
Before disassembly, clean the outside of the cylinder thoroughly. Pay close attention to the gland area, retaining ring groove, ports, and pin bosses. Use a clean bench or protected assembly surface once the cylinder is removed.
The following items should be ready before opening the cylinder:
- Correct boom cylinder seal kit and any required replacement bearings or bushings
- Clean hydraulic oil compatible with the machine system
- Seal picks with smooth, non-sharp tips and suitable installation sleeves or cones
- Calipers, micrometer, groove gauges, and a clean inspection light
- Lint-free wipes, soft cleaning brushes, and caps for hydraulic ports
Remove and Inspect the Boom Cylinder Components
Remove the cylinder using proper lifting equipment. Boom cylinders are heavy, awkward, and often retain oil even after draining. Record the orientation of ports, gland components, spacers, and piston hardware before removal. Photos taken during disassembly can prevent incorrect reassembly later.
Remove the gland retaining method used by that cylinder, such as a wire ring, snap ring, threaded gland, bolted flange, or lock screw arrangement. Pull the rod assembly straight from the barrel to avoid scoring the bore. Drain the remaining oil into a clean container for proper disposal.
Once the rod assembly is out, inspect the rod chrome carefully. Light discoloration may be acceptable, but pitting, flaking chrome, deep scoring, bent rod condition, or rust in the working area will quickly destroy a new rod seal. Run a fingernail across suspect marks. If the mark catches, the rod should be repaired or replaced before fitting the kit.
Inspect the barrel bore for scoring, corrosion, or metal transfer. Check the piston, gland, and seal grooves for burrs, sharp edges, wear, and deformation. Also inspect wear rings and guide bands. Excessive guide wear allows side loading, which can overload the rod seal and cause external leakage even when the seal itself is new.
How to Install Boom Seals in the Correct Order
Lay out the new components beside the removed parts, but do not assume the old kit was assembled correctly. Compare each profile, diameter, and cross-section with the cylinder drawing, service information, or verified kit specification.
Clean every groove until it is free of old seal fragments, varnish, and debris. Deburr lightly if needed, then clean again. Seal grooves must be smooth and dry before installation, while the seals themselves should receive a light film of clean hydraulic oil. Do not soak polyurethane seals in heat or use grease that is not compatible with the hydraulic fluid.
Install piston seals and wear rings first. On many double-acting cylinders, the piston seal lip orientation is designed to seal pressure from both directions. Some piston seals are symmetrical, while others use a specific pressure-facing direction. Follow the seal profile rather than guessing from appearance.
Install the gland seals next. The outermost seal is normally the wiper or scraper. Its job is to keep mud, dust, and abrasive material from entering the cylinder as the rod retracts. Behind it sits the rod seal, which prevents hydraulic oil from escaping along the rod. A buffer seal may sit between the rod seal and the pressure side to absorb pressure spikes and reduce rod-seal extrusion.
For lip-type rod seals, the sealing lip generally faces the pressure side of the cylinder. In a boom cylinder gland, that means the lip faces inward toward the hydraulic oil. The wiper lip faces outward toward the rod and external environment. O-rings and backup rings on the gland outside diameter must also be installed in the correct order. If a backup ring is installed on the wrong side of an O-ring, system pressure can force the O-ring into the clearance gap.
Use a seal cone, sizing sleeve, or proper installation tool whenever a seal must pass over threads, keyways, cross holes, or sharp rod edges. Covering these areas with a thin protective sleeve is far cheaper than damaging a new seal during installation. Never stretch a seal farther than necessary, and allow stretched seals to recover to their normal size before final assembly.
Reassemble Without Cutting the New Seals
Lubricate the rod, piston, gland outside diameter, and barrel bore lightly with clean hydraulic oil. Keep the work clean. A gritty rag or contaminated oil can undermine the entire repair.
Install the piston onto the rod and tighten the piston nut or retaining hardware to the manufacturer’s specified torque. Where specified, use the correct locking method, such as thread locker, staking, lock washer, or mechanical retainer. Do not reuse damaged locking hardware.
Insert the rod assembly into the barrel slowly and squarely. The piston seal and gland seals must enter without rolling or shaving. If resistance is excessive, stop and inspect rather than forcing the assembly. A cut seal may not show an external leak immediately, but it can fail under operating pressure.
Install the gland retainer and confirm it is fully seated. Refit the cylinder to the machine, connect the hydraulic lines, and install pins, retainers, and grease points according to the machine service procedure.
Test the Cylinder Before Returning to Work
Start the machine at low idle and cycle the boom slowly several times without load. Check the rod seal area, hydraulic ports, gland, and cylinder connections for oil leakage. Listen for abnormal noise and watch for jerky motion that may indicate trapped air or a mechanical issue.
Then operate the boom through its normal range under a controlled load. Check for external leakage, boom drift, loss of lifting force, and abnormal cylinder movement. Recheck the gland and hose connections after the system reaches operating temperature.
If the cylinder leaks immediately after repair, do not assume the new seal kit is defective. Common causes include a damaged rod, incorrect seal orientation, wrong kit dimensions, a scored gland groove, excessive side loading, or contamination left inside the cylinder. Identifying the cause before reopening the cylinder protects both repair time and parts cost.
A correctly matched kit, clean installation, and careful pressure test are what turn a boom seal replacement into a dependable repair. When downtime is expensive, verify fitment before the cylinder comes apart and keep the required seal kit on hand before the machine is taken out of service.