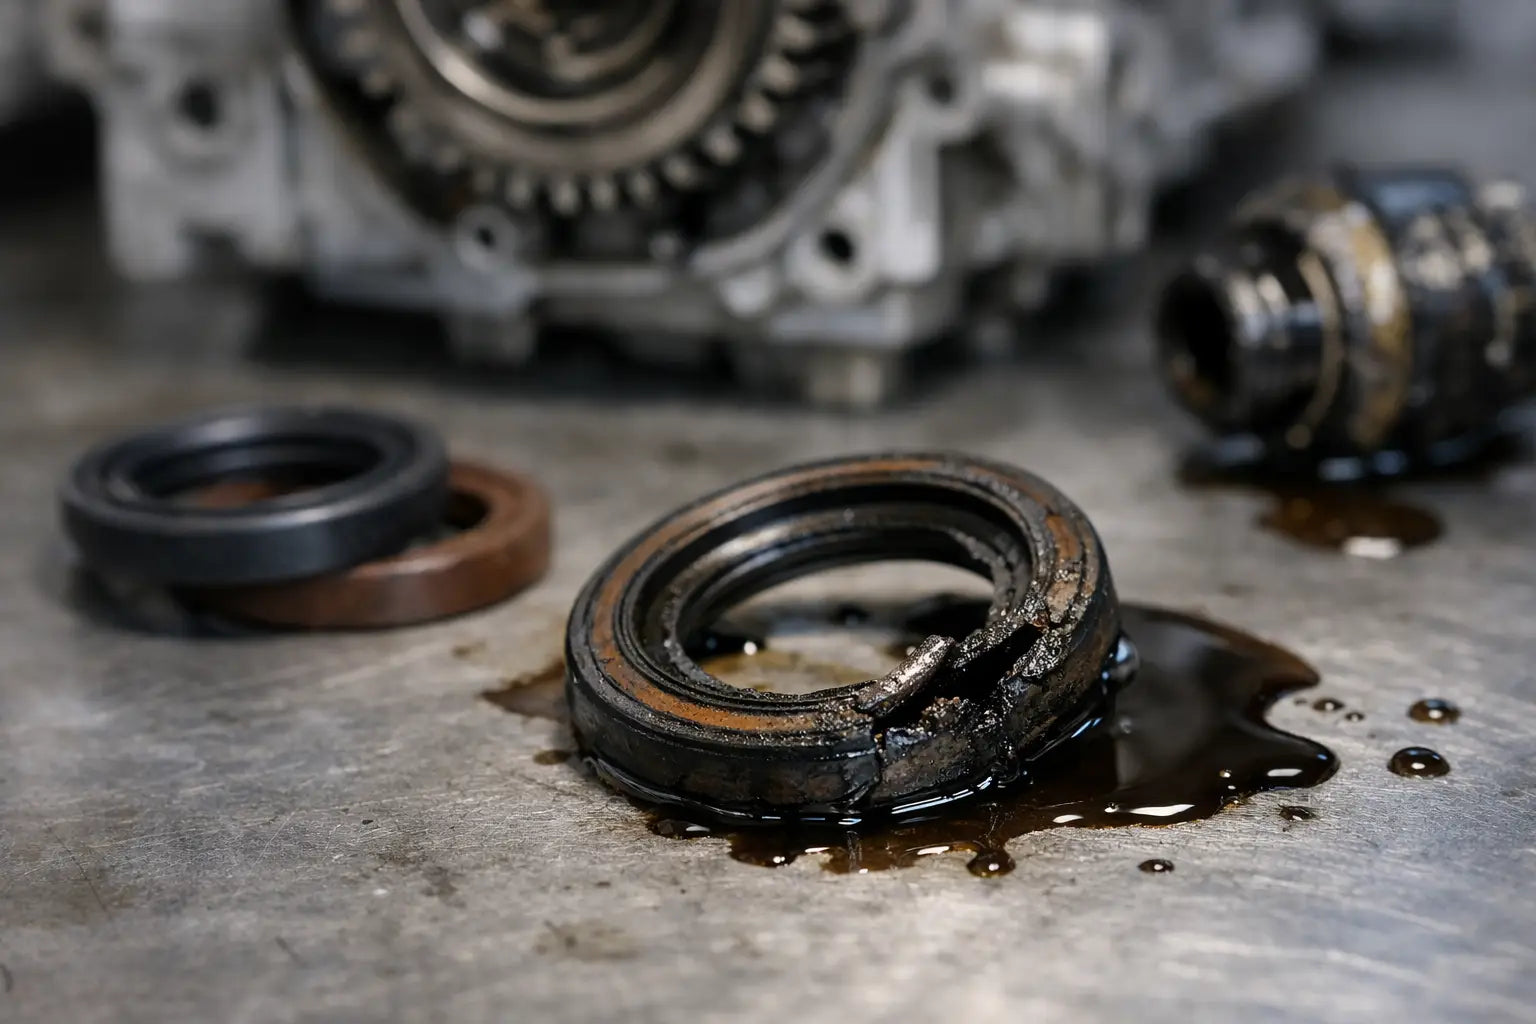
A leaking final drive, wheel hub, gearbox, or engine cover is rarely solved by replacing the visible oil seal alone. What causes oil seal failure is often a condition around the seal: a worn shaft track, excessive pressure, bearing movement, installation damage, or the wrong seal specification. If that condition remains, even a quality replacement can leak again within hours.
For heavy-equipment maintenance teams, the goal is not just to stop the leak. It is to identify the failure mode before oil loss damages bearings, gears, brakes, or adjacent components. A correct part number matters, but so do the shaft, bore, lubricant, operating temperature, and assembly method.
What Causes Oil Seal Failure in Heavy Equipment?
An oil seal, commonly called a radial shaft seal, holds lubricant inside a housing while allowing a shaft to rotate. Its sealing lip runs on a very thin film of oil at the shaft surface. This contact area is small, so minor defects in alignment, surface finish, pressure, or contamination can create a leak path.
The most common causes are not isolated from one another. For example, a damaged bearing can create shaft runout, which wears the seal lip unevenly. The resulting leak may then pull abrasive dust into the housing and accelerate damage further. Proper diagnosis means checking the whole sealing arrangement, not treating the seal as a standalone part.
1. Shaft Wear, Grooving, or Poor Surface Finish
A shaft that has run under an oil seal for thousands of hours often develops a visible wear groove at the lip contact point. Installing a new seal onto the same groove may reduce leakage briefly, but the lip cannot maintain consistent contact across a worn track. This is especially common on axle hubs, final drives, PTO shafts, pumps, and gearbox input shafts.
Check the shaft carefully after removing the seal. A groove that catches a fingernail is a practical warning sign, but light scoring, corrosion pits, or chrome damage can also be enough to compromise sealing. Shaft surface finish matters as well. A surface that is too rough wears the lip rapidly; a polished or improperly finished surface may not retain the required oil film.
Depending on the application, the repair may require shaft replacement, a wear sleeve, or moving the seal lip to an unworn section using an approved spacer or alternative seal arrangement. Do not assume the replacement seal is defective when it leaks on a damaged shaft.
2. Incorrect Seal Size, Profile, or Material
An oil seal can look correct and still be wrong for the application. A mismatch in inside diameter, outside diameter, width, lip arrangement, spring type, or material can cause early leakage. A single-lip seal may not provide enough exclusion where mud, abrasive dust, or washdown exposure requires a dust lip or cassette-style design.
Material selection is equally important. Nitrile rubber is widely used for standard mineral oils and moderate temperatures, while fluoroelastomer may be required where temperature, chemical exposure, or certain synthetic lubricants exceed nitrile limits. Using the wrong material can harden the lip, cause swelling, or reduce spring-loaded contact pressure.
Verify the complete specification against the OEM number, seal markings, and measured dimensions. For equipment-specific repairs, confirm the machine model, component location, serial range where applicable, and whether the seal fits a drive motor, travel reduction gearbox, hub, transmission, or hydraulic pump. Similar-looking parts are not reliable substitutes.
3. Installation Damage
Many premature seal failures begin during assembly. The sealing lip can be cut when it passes over splines, keyways, threads, burrs, or sharp shaft edges. The garter spring can dislodge. A seal driven in at an angle can distort the metal case or damage the outside diameter sealing surface.
Use a suitable installation tool that contacts the seal's rigid case, not the flexible lip. Clean burrs from the shaft, cover splines or threads with an installation sleeve or tape where appropriate, and apply a light coat of compatible lubricant to the lip and shaft. The bore should be clean, dry unless the manufacturer specifies sealant, and free from dents or corrosion.
Do not strike the seal directly with a hammer. A seal that appears seated can still have a folded lip or displaced spring. If the component is difficult to assemble, stop and inspect rather than forcing it into place.
4. Excessive Internal Pressure
Standard oil seals are designed to retain lubricant, not control significant internal pressure. A blocked or contaminated breather can pressurize an axle, gearbox, differential, or hydraulic motor case. Once pressure rises, oil is forced past the lip and may be mistaken for a seal material failure.
Inspect breathers and vents whenever an oil seal leaks repeatedly. Check that the correct oil fill level is being used, since overfilling can churn lubricant and increase pressure. Foaming lubricant, a hot housing, or oil pushed from multiple seals and plugs points more strongly to a ventilation or internal mechanical problem than to one failed seal.
For applications with known pressure exposure, use the seal type specified for that duty. Increasing spring tension or using a random double-lip replacement is not a reliable pressure-management solution.
5. Bearing Wear and Shaft Runout
A seal lip can tolerate only limited shaft movement. Worn bearings, loose hubs, damaged journals, bent shafts, or housing distortion create radial runout and axial movement that the lip cannot follow. The seal wears on one side, often leaving an uneven polished band or a lip that appears torn at one point.
Before replacing a hub or gearbox seal, check for play in the shaft or wheel assembly. On a wheel loader, excavator, forklift, or agricultural machine, bearing damage may be the underlying issue. Continuing to operate with a leaking seal can wash grease from bearings or allow dirt into the housing, turning a low-cost seal repair into a larger component rebuild.
If the shaft moves excessively, replace or correctly set the bearings and inspect associated spacers, locknuts, retaining rings, and housing seats. The seal should be installed after the rotating assembly is within specification.
6. Contamination at the Seal Lip
Construction and mining equipment work in conditions that quickly attack exposed seal areas. Fine dust, sand, slurry, wire, wrapped debris, and hardened mud can sit against the lip or work underneath it. Abrasives create a groove in both the shaft and elastomer. External contamination is particularly severe around track rollers, idlers, wheel hubs, travel motors, and exposed rotating shafts.
A dust lip helps exclude contamination, but it is not a cure for damaged guards or constant buildup. Inspect shields, labyrinths, face seals, and protective covers. Clean the area thoroughly before disassembly so dirt does not enter the bore or bearing cavity during repair.
The lubricant itself can also be contaminated. Metal particles, water, or grit in the oil may indicate a failing bearing, gear, or internal component. In that case, replacing only the seal leaves the source of damage inside the assembly.
7. Heat, Dry Running, and Lubricant Problems
Oil seal lips need lubrication at startup and during operation. A dry-installed seal, low oil level, incorrect lubricant viscosity, or a machine that has sat long enough for the contact area to dry can generate heat at the lip. The rubber may harden, crack, glaze, or develop a burnt appearance.
High ambient temperatures and sustained heavy loading raise the risk, particularly in final drives, transmission housings, hydraulic pumps, and high-speed rotating equipment. Heat can also come from a failing bearing or excessive gear friction. If the housing is running unusually hot, investigate the cause before fitting a new seal.
Always use the lubricant grade and fill quantity specified for the component. Mixing incompatible oils or using a fluid outside the required temperature range can affect seal material and reduce film control at the sealing lip.
8. Age, Storage, and Poor Replacement Quality
Seals are consumable components, but they should not fail simply because they were replaced. Rubber ages when exposed to ozone, direct sunlight, excessive heat, solvents, or poor storage conditions. A seal that feels hard, cracked, distorted, or has a loose spring should not be installed, regardless of its listed size.
Replacement quality also matters. The lip geometry, spring tension, case construction, elastomer compound, and manufacturing tolerances determine how a seal performs under load and temperature. For urgent repairs, choosing by dimensions alone can be tempting. It is usually more cost-effective to match the correct OEM reference or proven cross-reference from the start.
How to Diagnose an Oil Seal Leak Before Ordering Parts
Start by cleaning the assembly and confirming the exact point where oil begins to appear. Oil can travel along housings and make a cover gasket, plug, or nearby hydraulic fitting look like a seal failure. Once the source is confirmed, inspect the old seal, shaft contact track, bore, breather, bearing condition, and lubricant condition.
The removed seal often provides useful evidence. A clean, evenly worn lip may indicate normal service life. One-sided wear points toward runout or misalignment. A cut lip suggests installation damage. A hardened or cracked lip points to heat, age, or incompatible fluid. A seal pushed outward from the bore may indicate pressure or an incorrect outside diameter.
When ordering, record the seal markings, shaft diameter, housing bore, width, component model, and OEM part number. For machine-specific applications, identify the exact assembly rather than relying only on the equipment brand. MXPseal buyers can use these details to match an oil seal or repair kit accurately and avoid downtime caused by an incorrect fitment.
A replacement oil seal is a small part protecting a costly assembly. Treat the leak as evidence, inspect the conditions around it, and install the correct seal only after the shaft, bearings, breather, and lubricant are ready for service.