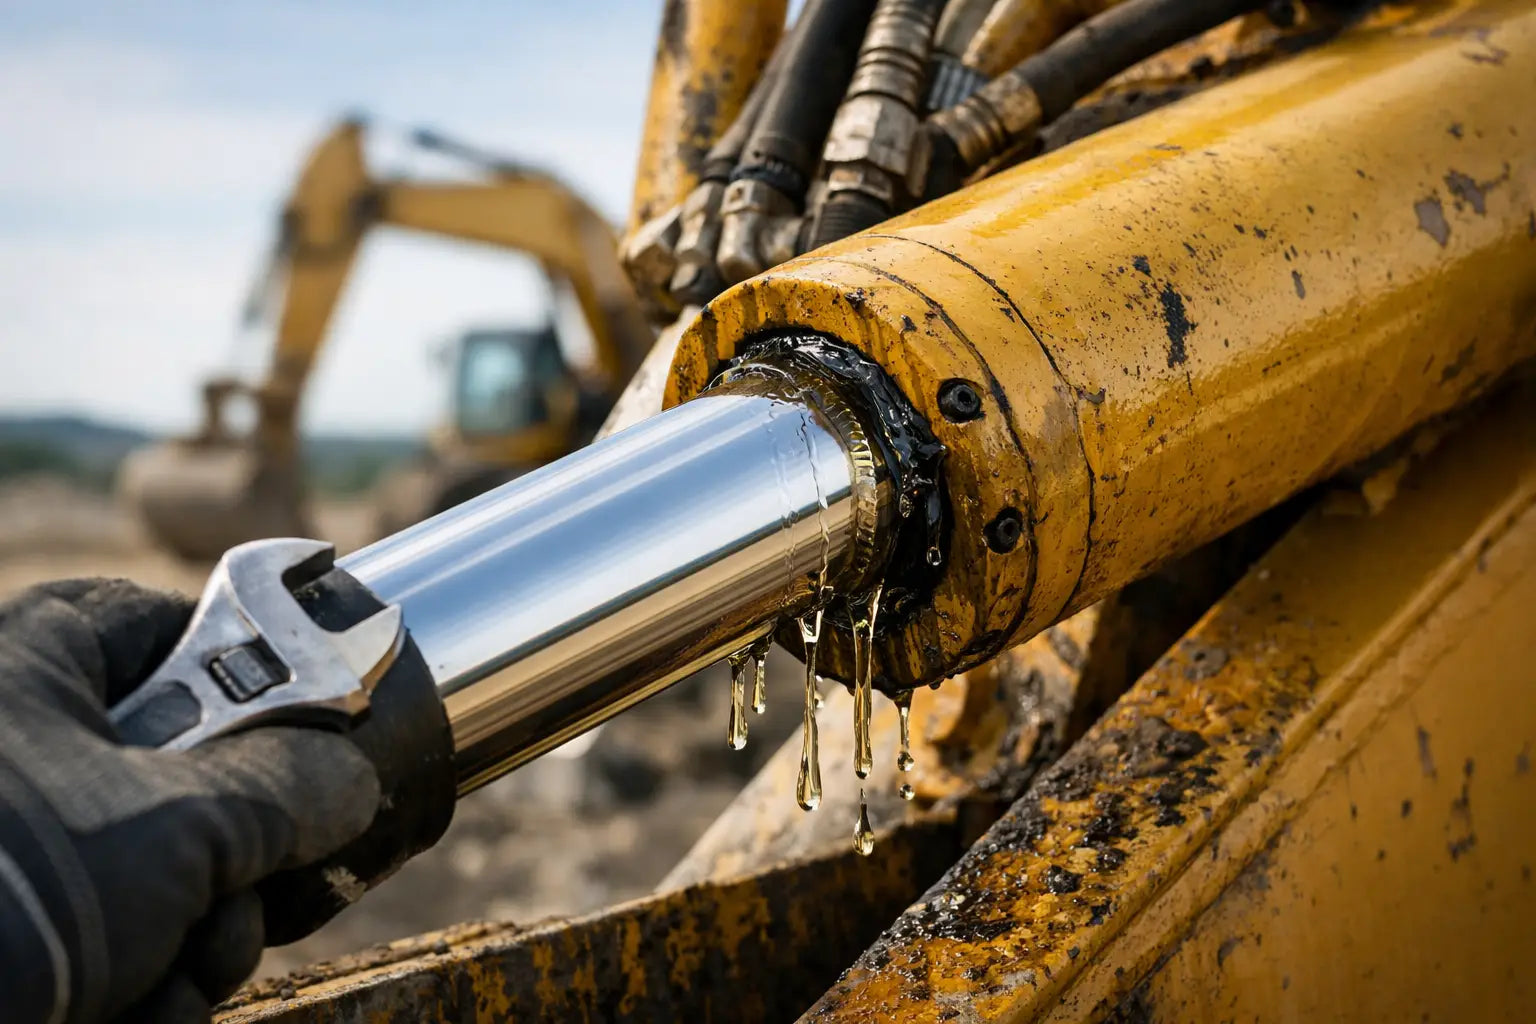
A hydraulic cylinder that starts weeping at the rod can quickly become a downtime problem. Oil loss is only the visible symptom. Contamination enters, hydraulic performance falls, adjacent components get coated in oil, and a small seal issue can turn into a cylinder rebuild. Knowing how to prevent cylinder leaks means controlling the full system: component condition, seal fitment, assembly quality, and operating conditions.
For fleet workshops and repair teams, prevention starts before the cylinder is opened. A correctly specified seal kit will not compensate for a scored rod, a worn guide bushing, contaminated oil, or side loading from a damaged linkage. The most reliable repairs address the cause of leakage, not only the seal that failed.
Identify Where the Cylinder Is Leaking
Not every oily cylinder needs the same repair. Identify the leak path before ordering parts or removing the cylinder. External leakage at the rod end usually points to the rod seal, wiper, rod surface, guide ring, or gland condition. Oil at the barrel-to-cap joint can indicate damaged static seals, loose fasteners, improper assembly, or a damaged cylinder tube.
A cylinder that drifts internally without visible external oil loss may have piston seal bypass. This is common when an attachment will not hold position, a boom settles, or a hydraulic function feels weak under load. Internal bypass can also come from a scored barrel, piston damage, excessive clearance, or the wrong piston seal profile.
Clean the cylinder first, then run the machine through its normal stroke range and observe where fresh oil appears. This prevents old residue from being mistaken for an active leak. Check hose fittings and valve connections as well. Hydraulic oil often travels along a component and makes the true source difficult to identify.
Check the Rod Before Replacing Seals
The rod is the working surface for the rod seal and wiper. A new seal installed over a damaged rod is likely to fail early, often within the first operating shift. Inspect the chrome surface under good light and run a clean cloth along the rod. A snag can reveal a burr, corrosion pit, weld spatter, or raised chrome damage that may not be obvious visually.
Look for scoring, pitting, flaking chrome, bent rods, and impact damage near the full extension area. Damage in the normal seal travel zone is especially critical. Light imperfections may be repairable by polishing, but deep grooves or lifting chrome usually require rod repair or replacement. Aggressive sanding can change surface finish and diameter, creating another sealing problem.
Rod straightness also matters. A bent rod creates uneven loading at the gland, accelerates wear on the rod seal and guide ring, and can score the barrel. On boom, arm, bucket, tilt, steering, and lift cylinders, inspect pins, bushings, mounts, and linkage alignment. Excessive play or a twisted mounting condition can side-load the rod even when the cylinder itself was rebuilt correctly.
Match the Seal Kit to the Exact Cylinder
Seal selection is a fitment task, not a visual comparison exercise. A similar-looking U-cup or wiper may differ in lip geometry, material, operating pressure, groove dimensions, and intended fluid. The correct kit should be verified by cylinder location, equipment model, OEM part number where available, and critical dimensions such as rod diameter, bore diameter, seal groove width, and cross section.
This is particularly important on equipment with multiple cylinder configurations. A machine model may use different boom, arm, bucket, blade, steering, or outrigger cylinders depending on serial range, production year, or attachment specification. Do not assume a kit for one cylinder position fits another position on the same machine.
Material choice depends on the application. Standard nitrile compounds perform well in many mineral-oil hydraulic systems, while polyurethane seals are often selected for abrasion resistance and demanding dynamic service. High-temperature systems, certain fluids, or severe chemical exposure may require different elastomers. For pneumatic cylinders, dry air, lubrication condition, moisture, and speed influence seal selection.
A complete repair normally requires more than the main rod seal. The kit may include a wiper, buffer seal, rod seal, piston seal, guide rings or wear bands, O-rings, backup rings, and static gland seals. Reusing worn guide rings or a hardened wiper to save a small amount can shorten the life of the new pressure seal.
How to Prevent Cylinder Leaks During Assembly
Clean assembly is one of the most controllable parts of cylinder repair. Dirt trapped under a static seal can create an immediate leak path. Fine metal particles or abrasive contamination on the rod can damage a new sealing lip during the first extension cycle. Work on a clean bench, keep replacement seals in clean packaging until needed, and protect open hydraulic lines and ports.
Before installation, inspect the barrel bore, gland, piston, seal grooves, threads, and retaining surfaces. Remove old seal fragments, hardened deposits, burrs, and corrosion without damaging the groove. Inspect the cylinder bore for scoring or oval wear. A piston seal cannot maintain effective separation across a badly damaged bore.
Use the correct installation tools where possible. Stretching a seal excessively, twisting it during installation, or levering it over a sharp edge can permanently deform the sealing lip. Cover threads, keyways, and sharp ports with a proper installation sleeve or smooth protective tape. Lubricate seals lightly with clean fluid compatible with the system and seal material.
Seal orientation is critical. Pressure seals must face the pressure side specified by the seal design. Wipers must be installed to exclude external contamination, not simply because they fit the gland. If a seal kit includes backup rings, install them in the specified position to support the O-ring and prevent extrusion under pressure. When in doubt, compare the removed component, the cylinder parts diagram, and the kit profile before final assembly.
After reassembly, torque retaining hardware to the manufacturer specification and cycle the cylinder slowly at low load. Bleed trapped air where the system design permits. Then inspect for seepage at the gland, cap, ports, and hose connections before returning the machine to full duty.
Control Contamination, Heat, and Pressure Spikes
Many recurring cylinder leaks originate outside the cylinder. Contaminated hydraulic oil carries particles that cut seal lips, score rods, and wear guide components. Follow the machine's filter service interval, use clean transfer equipment when topping up oil, and investigate any signs of water contamination or abnormal oil discoloration.
Overheating hardens and degrades elastomer seals. If multiple cylinders are leaking or seal life is consistently short, check hydraulic oil temperature, cooler performance, reservoir level, restricted filters, relief valve settings, and pump condition. Replacing seals without correcting persistent high temperature usually produces another early failure.
Pressure spikes can extrude seals, damage backup rings, and overload piston seals. Examine relief valves, load-holding valves, cushioning performance, and operator practices on high-impact applications. A cylinder used for repeated end-of-stroke shock loading will require more frequent inspection than one operating in a controlled, moderate-duty cycle.
Build Cylinder Checks Into Preventive Maintenance
Cylinder inspection should be part of routine machine servicing, especially for equipment working in demolition, quarrying, marine conditions, muddy sites, or abrasive material handling. Catching a damaged wiper early can prevent contamination from reaching the rod seal and guide system.
During scheduled inspections, look for fresh oil film, dirt buildup around the gland, rod damage, loose mounts, worn pins and bushings, damaged hose clamps, and abnormal cylinder movement. Record the cylinder position and machine hours when leakage is found. A repeat failure on the same cylinder is useful diagnostic information, not just another parts request.
Keep the repair history with the machine record. Note the seal kit or OEM number used, rod and bore measurements, fluid type, repair date, and any parts replaced beyond the seals. This helps maintenance teams identify recurring fitment issues, order the correct kit faster, and make better repair-versus-replacement decisions.
When a cylinder needs attention, verify the machine model, cylinder application, OEM number, and dimensions before taking it apart. MXPseal supports this process with equipment-specific cylinder seal kits and individual sealing components for common heavy-equipment applications. The right parts in stock are valuable, but accurate identification is what keeps a fast repair from becoming a repeat repair.
A dry cylinder is rarely the result of one decision. It comes from a sound rod and bore, the correct seal profile, clean installation, stable hydraulic conditions, and inspections completed before a minor seep becomes lost production time.