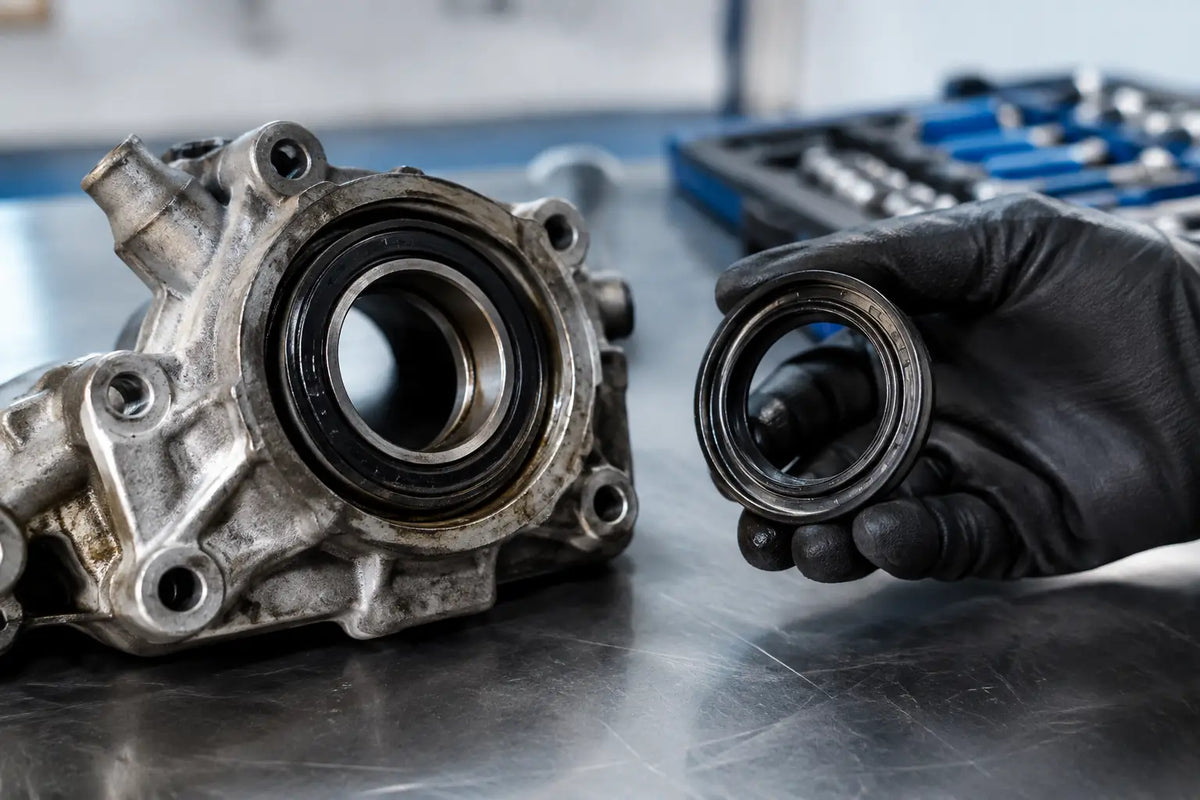
A wet hub, dark oil track behind a sprocket, or fresh lubricant collecting at a gearbox output is not cosmetic. These are common oil seal symptoms, and on heavy equipment they can quickly become bearing, brake, gear, or contamination failures. The right response is not simply fitting the nearest seal that matches the shaft diameter. First confirm where the oil is coming from, identify why the seal failed, and verify the complete fitment before downtime expands.
What an Oil Seal Does on Heavy Equipment
An oil seal, also called a rotary shaft seal or radial lip seal, retains lubricant where a rotating or moving shaft exits a housing. It also helps keep abrasive dust, water, mud, and other contamination out of the assembly. You will find oil seals in final drives, wheel hubs, track rollers, travel motors, swing drives, transmissions, axles, pumps, gearboxes, PTO assemblies, and many other rotating components.
The sealing lip runs on a shaft or wear sleeve. A garter spring commonly maintains lip tension, while the outer diameter grips the housing bore. Some designs use an auxiliary dust lip, cassette arrangement, or multiple lips for severe operating conditions. When any part of this sealing relationship is compromised, lubricant escapes or contamination enters.
A small leak may appear manageable on a machine that must stay productive. That calculation changes when oil level drops below specification, lubricant reaches a brake chamber, or contaminated oil starts damaging bearings and gears. The visible leak is often the earliest and least expensive warning.
Oil Seal Symptoms That Need Immediate Attention
Fresh oil around a rotating shaft or housing joint
The clearest symptom is fresh oil appearing at the seal location. Look for a wet ring around a shaft, oil thrown in a circular pattern by rotation, or a drip forming at the lowest point of the housing. On a final drive or wheel end, check behind the sprocket, hub, or cover rather than assuming the visible outside surface is the true source.
Old residue alone does not prove an active failure. Clean the area, run the machine under normal operating conditions, then inspect again. A fresh oil path gives a far better diagnosis than a component covered in months of dirt and grease.
Repeated need to top up gear oil or axle oil
Unexplained lubricant consumption is a practical maintenance signal, especially on fleets with scheduled inspection records. If a travel reduction gearbox, axle, or transmission repeatedly needs oil added, inspect seals, breather condition, covers, plugs, and housing damage.
Do not assume every loss is external. In some assemblies, a failed internal seal allows oil to migrate into another chamber. This can create an overfilled adjacent compartment while the original component runs low.
Dirt buildup sticking to an oily area
On excavators, loaders, forklifts, and agricultural machinery, a slow seal leak often presents as a thick black paste of dust and oil. This is easy to overlook because the area may not be dripping. Yet an oily accumulation around a hub, roller, gearbox, or motor flange can indicate a lip seal that has begun weeping.
The contamination itself adds risk. Abrasive material can work its way toward the sealing lip and shaft surface, accelerating wear and turning a minor leak into a larger failure.
Bearing noise, heat, or looseness near the seal location
Oil seal symptoms are not always limited to visible leakage. A seal that permits lubricant loss or contamination entry can be followed by bearing noise, elevated housing temperature, rough rotation, vibration, or measurable shaft play.
For example, a hub seal leak accompanied by wheel-end heat or side play should be treated as an assembly inspection, not a seal-only job. Replacing the seal without correcting a worn bearing, damaged spacer, or scored wear sleeve can result in another leak shortly after installation.
Oil on brakes, tracks, tires, or nearby components
Oil reaching friction surfaces is an urgent condition. On wheeled equipment, hub or axle oil can contaminate brakes. On tracked machinery, leakage at the travel motor or final drive area can coat track components and attract abrasive debris. Oil on tires may also affect traction and makes the machine harder to keep clean for inspection.
Contain the issue before it creates a safety problem or masks the actual leak path. Inspect the lubricant level and determine whether operation can continue under the equipment maker's maintenance procedure.
Milky, dirty, or water-contaminated lubricant
A leaking seal can be obvious, but a seal that allows contamination inward may not leak much at all. Milky oil suggests water contamination. Gritty lubricant, rust staining, or an abnormal quantity of metallic debris can indicate an ingress issue or broader internal damage.
This is common where equipment operates in standing water, washdown areas, mud, quarry dust, or marine environments. A new seal may be needed, but contaminated lubricant should be drained and the component inspected according to its condition and service requirements.
Confirm the Leak Source Before Ordering Parts
Heavy equipment has many adjacent seals, plugs, O-rings, covers, and hose connections. Oil travels along housings, guards, and frame members, so the first wet point you see may be well below the actual failure.
Start by identifying the fluid. Gear oil generally has a distinct sulfur odor and higher viscosity than hydraulic oil. Engine oil, grease, coolant, and hydraulic oil each point to different assemblies and repair paths. Check the oil level in the suspected compartment, then compare the leak location with the shaft, housing bore, flange, and nearby joints.
A thorough inspection should also include the breather. A blocked breather can pressurize a gearbox or axle housing as temperature rises. That pressure pushes lubricant past an otherwise serviceable seal. If the replacement seal is fitted without restoring ventilation, the new part may leak again.
Why Oil Seals Fail Before Their Expected Service Life
Seal failure is often the result of an underlying mechanical condition. Shaft runout, bearing play, shaft scoring, corrosion, excessive surface roughness, and a worn seal track can prevent the lip from maintaining contact. A hardened or torn lip may come from age, heat, chemical incompatibility, or contamination.
Installation damage is another frequent cause. A lip can be cut on a keyway, spline, thread, sharp shaft edge, or burr. Installing the seal crooked, driving force through the wrong area, or reusing a distorted housing bore can also compromise retention and sealing.
Operating conditions matter. A standard nitrile oil seal may be suitable for common mineral-oil applications, while high temperature, aggressive fluids, extreme dust, pressure, or high shaft speed may require a different material or design. The correct choice depends on the application, not only on outside diameter, inside diameter, and width.
What to Check During Replacement
Before fitting a new oil seal, inspect the shaft sealing surface closely. If the contact area has a groove, rust pits, or heat damage, a replacement seal alone may not last. Depending on the assembly, the proper repair may involve a wear sleeve, shaft replacement, bearing replacement, or a revised seal position where permitted by the manufacturer.
Clean the housing bore and remove debris without scratching the seating surface. Verify the seal orientation: the primary lip and spring normally face the lubricant side, while the dust lip faces outward. Some cassette seals and specialized designs have application-specific orientation, so use the component drawing or OEM service information when there is any doubt.
Use a correct-size driver that supports the seal's outer face evenly. Lightly lubricate the sealing lip with the compatible operating fluid unless the manufacturer specifies otherwise. Protect the lip while it passes over splines, threads, or sharp edges. After assembly, refill with the specified lubricant and recheck the level after the machine has operated.
Selecting the Right Replacement Oil Seal
Accurate identification reduces repeat downtime. For a standard oil seal, record the inside diameter, outside diameter, width, lip configuration, material, and rotation or pressure requirements where relevant. For equipment-specific applications, the OEM part number, machine model, serial range, component position, and gearbox or axle reference are often more reliable than dimensions alone.
Do not substitute a similar-looking seal without checking the full profile. Two seals can share the same nominal dimensions but differ in lip design, case construction, spring arrangement, material, or dust exclusion capability. For final drives, hubs, transmissions, and high-load assemblies, that difference can affect service life.
MXPseal supports practical part matching with oil seals, bearing-related components, and machine-specific repair parts for heavy equipment applications. Having the part number, dimensions, and equipment details ready helps confirm fitment before dispatch.
A seal leak rarely improves with continued operation. Catch it while it is still a clean inspection and parts job, not after low oil, contaminated bearings, or damaged gears turn it into a major repair.