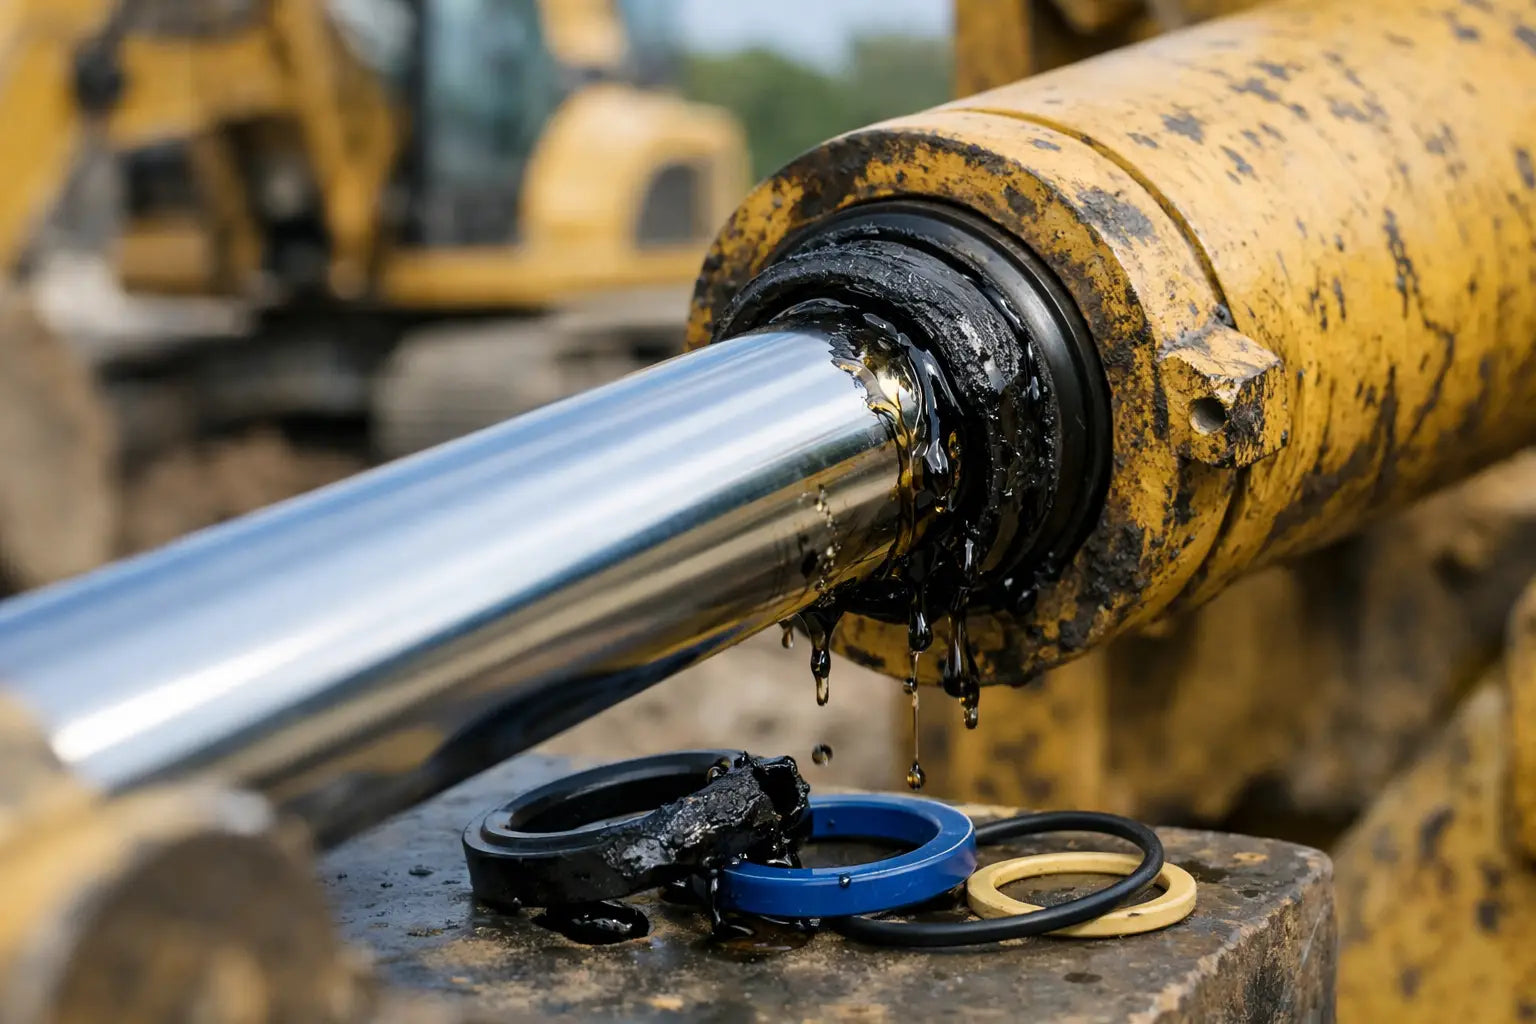
A new cylinder seal kit that starts weeping after a few shifts is rarely just a bad seal. When asking why hydraulic seals leak prematurely, the answer is usually found in the working condition of the cylinder, the installation method, or a mismatch between the seal profile and the application. Replacing the same seal without finding that cause can turn a low-cost repair into repeat downtime, lost hydraulic oil, and an unavailable machine.
For excavators, loaders, cranes, forklifts, and agricultural equipment, cylinder seals operate under pressure, heat, vibration, side load, and contamination. A seal kit has to match the cylinder dimensions, rod condition, fluid, and duty cycle. Part number accuracy matters, but it is only one part of a lasting repair.
Why Hydraulic Seals Leak Prematurely in Service
Rod scoring, corrosion, and damaged chrome
A rod seal runs against the rod surface every time the cylinder strokes. Fine scoring, pitting, rust, chrome flaking, and embedded contamination can cut or wear the sealing lip quickly. The leak may look minor at first, but it generally gets worse as the damaged area repeatedly passes through the seal.
Do not judge a rod only by visual appearance from a distance. Clean it and inspect the full stroke area under good light. Run a fingernail across suspect marks. If the damage catches a nail, a new seal is unlikely to last. A polished rod with damaged chrome can also create sharp edges that remove material from the seal lip.
Rod condition is especially relevant on boom, arm, bucket, tilt, and steering cylinders exposed to rain, abrasive dust, salt, and jobsite impact. A damaged wiper lets contamination enter, then the contamination damages both the rod seal and the rod surface.
Contamination inside the cylinder
Hydraulic oil can look clean and still carry particles large enough to damage a seal. Dirt entering during a field repair, worn hose fragments, metal from a failing pump, or degraded rubber from other components can score the rod, block a seal groove, or lodge under a sealing lip.
The wiper seal is the first line of defense, not an optional extra. If it is split, hardened, incorrectly installed, or poorly matched to the rod diameter, the rod seal is left to deal with contamination it was not designed to stop. Reusing an old wiper while fitting a new rod seal is a common false economy.
Before assembly, clean the cylinder barrel, piston, gland, grooves, and workbench. Use lint-free materials and clean hydraulic fluid for lubrication. Avoid abrasive paper, dirty rags, and open containers of oil that have been sitting in a workshop or service truck.
Incorrect seal fitment or profile selection
Two seals can have a similar inside diameter, outside diameter, and height but perform very differently. A U-cup, compact seal, step seal, chevron packing, buffer seal, and piston seal each have specific installation directions, groove requirements, pressure capabilities, and applications.
A seal selected only by approximate dimensions may fit into the gland but fail under pressure. The material may be wrong for the fluid or temperature. The lip geometry may be unsuitable for the rod speed or pressure spikes. A single-acting cylinder may be fitted with a double-acting profile, or a pressure seal may be installed backward.
For machine-specific cylinder kits, verify the equipment make, model, cylinder location, and OEM part number where available. A BOOM KIT and BUCKET KIT for the same machine are not automatically interchangeable. Confirm rod diameter, bore diameter, seal cross-section, and the original seal arrangement before ordering or assembling.
Installation damage
Many premature leaks start during installation, even when the correct kit is used. Seal lips can be nicked on threads, keyways, ports, retaining-ring grooves, or sharp gland edges. Twisting an energized seal, overstretching it, using excessive force, or fitting it dry can create damage that is not obvious until the cylinder is pressurized.
Use the correct installation sleeve, cone, or protective tape when a seal must pass over threads or ports. Lightly lubricate seals with compatible clean hydraulic oil or assembly lubricant. Ensure backup rings are installed on the correct pressure side and that split backup rings are positioned according to the kit design.
Some PTFE-based seals require resizing time after installation. Forcing immediate assembly can pinch or distort them. Follow the seal manufacturer's handling guidance, particularly for high-pressure compact seals and piston seal assemblies.
Barrel wear and poor internal surface condition
External rod leaks receive the most attention, but internal leakage often points to a piston seal problem or cylinder barrel condition. Barrel scoring, corrosion, ovality, taper, or a damaged surface finish prevents the piston seal from maintaining separation between the pressure and return sides of the cylinder.
Symptoms include cylinder drift, slow movement under load, excess heat, or reduced holding force. Replacing the piston seal may improve performance temporarily, but it will not correct a barrel that is out of tolerance. Measure the bore when there is any sign of heavy scoring or repeat internal bypass.
A repair decision depends on the cylinder value and the extent of damage. Honing may be suitable for minor surface defects if the finished bore remains within specification. Deep scoring, severe corrosion, or excessive oversize usually calls for re-tubing or cylinder replacement.
Pressure spikes, side loading, and misalignment
Seals are designed for a stated pressure range, but actual machine conditions can exceed it. Relief valve faults, blocked return lines, rapid directional changes, cold oil, and shock loading can create pressure spikes that extrude a seal into the clearance gap. Once extrusion begins, the seal may tear, harden, or lose its shape.
Side loading creates a different problem. A bent rod, worn pin and bushing set, damaged cylinder mount, or misaligned attachment causes uneven contact between the rod and gland. The seal lip carries load on one side and wears rapidly. Repeated rod seal failures on one cylinder, especially with polished wear marks on one side of the rod, should trigger an alignment inspection.
This is not always a seal-kit issue. A higher-grade seal material may help in a demanding application, but it cannot compensate for a bent rod or excessive mechanical play.
A Practical Check Before Rebuilding the Cylinder
Before ordering replacement seals, identify the failure pattern. It saves time and reduces the chance of ordering a kit that addresses the symptom but not the cause.
- Inspect the rod across its full travel for pitting, scoring, bent sections, and chrome damage.
- Check the wiper, gland, piston, bore, and seal grooves for wear, burrs, or trapped debris.
- Confirm the cylinder application, OEM number, rod and bore dimensions, and complete seal stack.
- Review machine conditions such as overheating, contaminated oil, pressure faults, side load, and worn pivots.
- Match seal material to the hydraulic fluid and operating temperature, particularly where nonstandard fluids or high heat are involved.
Choosing the Right Replacement Kit
The fastest available kit is only the right choice when the fitment is confirmed. For standard cylinders, measure carefully and identify each profile. For OEM equipment cylinders, use the machine model, cylinder function, and original part number whenever possible. A complete kit should include the relevant pressure seals, wear rings, O-rings, backup rings, wiper, and static seals for that cylinder design.
There is also a material trade-off. Nitrile is widely used with mineral-based hydraulic oil and performs well in many equipment applications. Polyurethane offers strong abrasion resistance for demanding rod-seal duties. PTFE-based designs suit some higher-pressure or lower-friction applications but may require more careful installation. The correct choice depends on the cylinder design, fluid, temperature, and operating conditions.
If a machine is down, accurate identification is what turns ready stock into a fast repair. MXPseal can help buyers match machine-specific kits or dimensional seal requirements, but a clear record of the cylinder location, measurements, and failed-seal condition will always speed up the process.
A seal replacement should leave the cylinder better than it arrived: clean internals, smooth contact surfaces, verified fitment, and the mechanical cause of failure corrected. That is how a seal kit becomes a repair rather than a temporary stopgap.