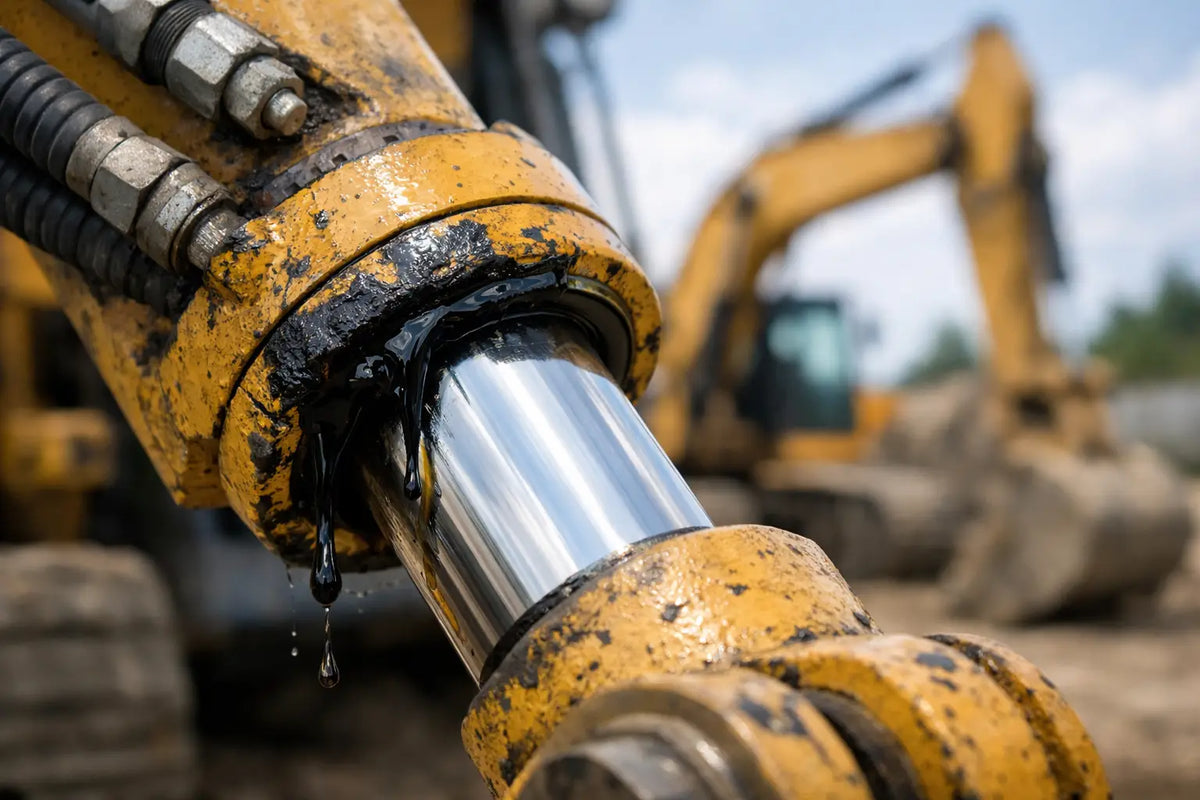
A new seal that starts weeping after a few operating hours is rarely just a bad seal. For repair shops, fleet teams, and field mechanics, understanding why seals leak means looking beyond the visible oil. The leak point may be at the rod, cover, shaft, gland, or cylinder barrel, but the actual cause is often an installation issue, damaged hardware, incorrect profile, or an operating condition that the seal was never meant to handle.
Replacing the same part number without finding that cause turns a low-cost component into repeat downtime. On an excavator boom cylinder, a failed rod seal can contaminate the work area and reduce holding performance. On a travel motor, hub, pump, or axle, an oil seal leak can progress to bearing damage, lubricant loss, and a larger repair bill. A proper diagnosis starts with the seal location, then works outward through the complete assembly.
Why Seals Leak: The Failure Is Often Elsewhere
Seals are designed to operate against controlled surfaces, within a defined pressure range, temperature range, and fluid compatibility window. When one of those conditions changes, even a quality seal can fail early. A lip seal needs the correct shaft finish and lubrication. A hydraulic rod seal needs a straight, smooth rod, a compatible wiper, and a gland built to the correct dimensions. A piston seal needs adequate guide rings to prevent side loading and extrusion.
The appearance of the failed seal provides useful evidence. A hard, glossy lip may point to heat or chemical incompatibility. A torn lip can indicate installation damage or a sharp shaft edge. Repeated chunks missing from a hydraulic seal often point to pressure spikes, excessive clearance, or extrusion. A seal that looks intact but leaks may be the wrong size, installed in the wrong direction, or running on a scored mating surface.
Do not assume an oil leak is always from the seal itself. Oil can travel along a housing, hose, flange, or machine frame before it becomes visible. Clean the area, operate the machine, and identify the first wet point. This prevents replacing a crankshaft seal when the actual source is a valve cover, or changing a cylinder kit when a hose fitting is spraying oil across the gland.
Incorrect Fitment and Seal Selection
Exact fitment matters more than a close measurement. A seal may fit into a groove and still be wrong for the application. Hydraulic seals differ by profile, lip geometry, material hardness, energizer design, and permitted extrusion gap. Rotary oil seals differ by shaft diameter, housing diameter, width, lip design, spring configuration, and whether the application requires dust exclusion, pressure capability, or dual lips.
A common field mistake is selecting by inside diameter alone. For a cylinder repair, verify rod diameter, bore diameter, groove width, groove depth, piston or gland design, and the position of each seal in the kit. For an oil seal, confirm the full size marking, usually ID x OD x width, along with the direction of pressure and the shaft rotation conditions where relevant.
Material selection also changes with the job. Nitrile is widely used for petroleum-based hydraulic oil and general lubricants, but high heat, aggressive chemicals, low-temperature service, or specialized fluids may require a different compound. Polyurethane offers excellent wear resistance in many hydraulic applications, while PTFE-based designs can suit specific low-friction or higher-speed duties. The best material depends on the machine, fluid, temperature, and duty cycle, not just what is available on the bench.
For equipment-specific repairs, match the machine model, cylinder location, and OEM reference where possible. A boom kit, arm kit, bucket kit, steering cylinder kit, or tilt cylinder kit may contain similar-looking components with different dimensions. Part-number verification is faster than reopening a cylinder after discovering a near-match was installed.
Surface Damage at the Rod, Shaft, Bore, or Housing
The sealing surface is as critical as the seal. A new rod seal cannot compensate for chrome flaking, pitting, corrosion, spiral scoring, or a bent cylinder rod. Under pressure, hydraulic oil follows surface defects directly past the sealing lip. If the rod is damaged in the working stroke area, the leak may appear only at a certain extension position.
On rotating equipment, inspect the shaft where the seal lip runs. A worn shaft can develop a groove that prevents the lip from maintaining contact. Installing another standard oil seal in the same location may only provide a short-term improvement. Depending on the application, the repair may require a shaft repair sleeve, shaft replacement, repositioning the seal to an unworn track, or a revised seal solution approved for that assembly.
Inspect the bore and gland as well. A burred groove can cut a seal during assembly. A damaged housing bore can prevent a press-fit oil seal from seating squarely. In hydraulic cylinders, a distorted gland or worn guide-ring lands can allow the rod to move sideways, overloading one side of the rod seal and wiper. Measure components rather than relying on visual condition alone when repeat failure is involved.
Contamination and Installation Damage
Contamination is one of the fastest ways to shorten seal life. Dirt carried into a cylinder can score the rod and bore, damage sealing lips, and interfere with the wiper. Metal particles in hydraulic oil can create abrasive wear throughout the circuit. Water can corrode steel surfaces and degrade lubricant performance. On machines operating in demolition, quarry, agriculture, marine, or wet construction environments, the wiper is not an optional secondary part. It is the first barrier protecting the rod seal and cylinder internals.
Clean assembly practice matters. Wash reusable metal components, blow out passages safely, and keep new seals protected from dirt until installation. Use clean compatible hydraulic oil or assembly lubricant where appropriate. Avoid stretching seals excessively, twisting them, or forcing them over threads, keyways, sharp ports, and retaining-ring grooves without an installation sleeve or protective tape.
A seal installed backward may leak immediately. A seal nicked during installation may leak only after the machine returns to full pressure. PTFE rings and some compact seal sets require careful sizing and settling before assembly. If the kit includes backup rings, wear rings, O-rings, and energizers, install each part in the correct sequence and orientation. A clear photo record during disassembly can prevent a costly rework later.
Pressure, Heat, and Mechanical Loading
Hydraulic systems do not always operate at their nominal pressure. Relief valve faults, blocked return flow, shock loading, regenerative circuits, and rapid cylinder stops can create pressure spikes that push a seal into the clearance gap. This is extrusion. It often appears as nibbled or missing material on the pressure side of a seal.
Check system pressure against the machine specification before treating repeated piston or rod-seal failure as a kit problem. Also inspect the cylinder for excessive clearance, worn wear bands, loose pistons, and bent rods. Guide rings are there to control metal-to-metal contact and side load. When they are worn or omitted, the main seal is asked to guide the cylinder as well as contain pressure, and it will not last.
Heat causes another set of problems. High oil temperature reduces fluid viscosity and can harden, swell, or soften unsuitable elastomers. A leaking seal may be the first visible sign of a cooler restriction, low reservoir level, incorrect oil grade, poor pump condition, or prolonged operation beyond the machine's duty cycle. The repair should address the temperature source, not only the leaking component.
Rotary seals face related issues. Excessive shaft runout, misalignment, bearing play, plugged breathers, and overfilled housings can force oil past a healthy lip seal. If an axle or gearbox seal fails repeatedly, inspect bearing condition and breather operation before ordering another seal. Pressure inside a sealed housing needs a controlled path to equalize as temperature changes.
A Practical Leak Diagnosis Before Ordering Parts
Start by identifying the assembly and fluid. Hydraulic oil at a cylinder rod, gear oil at a final drive, grease mixed with dirt at a hub, and engine oil at a crankshaft each point to different seal families and failure modes. Record the equipment make, model, serial range if applicable, component position, and OEM part number from the removed seal or parts manual.
Then inspect the failed component and mating surfaces before disposal. Check for lip damage, wear tracks, hardening, extrusion, spring loss, and contamination. Measure the rod, shaft, bore, and housing with suitable tools. For cylinder repairs, inspect the piston, gland, barrel, guide rings, and wiper as a complete set. Replacing only the most visible seal can leave the real cause in service.
When downtime matters, order by verified dimensions or manufacturer reference, not appearance. A correctly matched seal kit or oil seal reduces fitting delays and avoids the cost of reopening an assembly. Keep commonly used cylinder kits, wipers, O-rings, rotary seals, and bearing-related seals in planned maintenance stock for machines that cannot wait for a second dispatch.
A leak is evidence. Read the damaged seal, inspect the hardware around it, and match the replacement to the actual operating conditions. That approach keeps repaired cylinders, axles, pumps, and gearboxes working longer and puts maintenance time where it belongs: back on scheduled work, not repeat repairs.