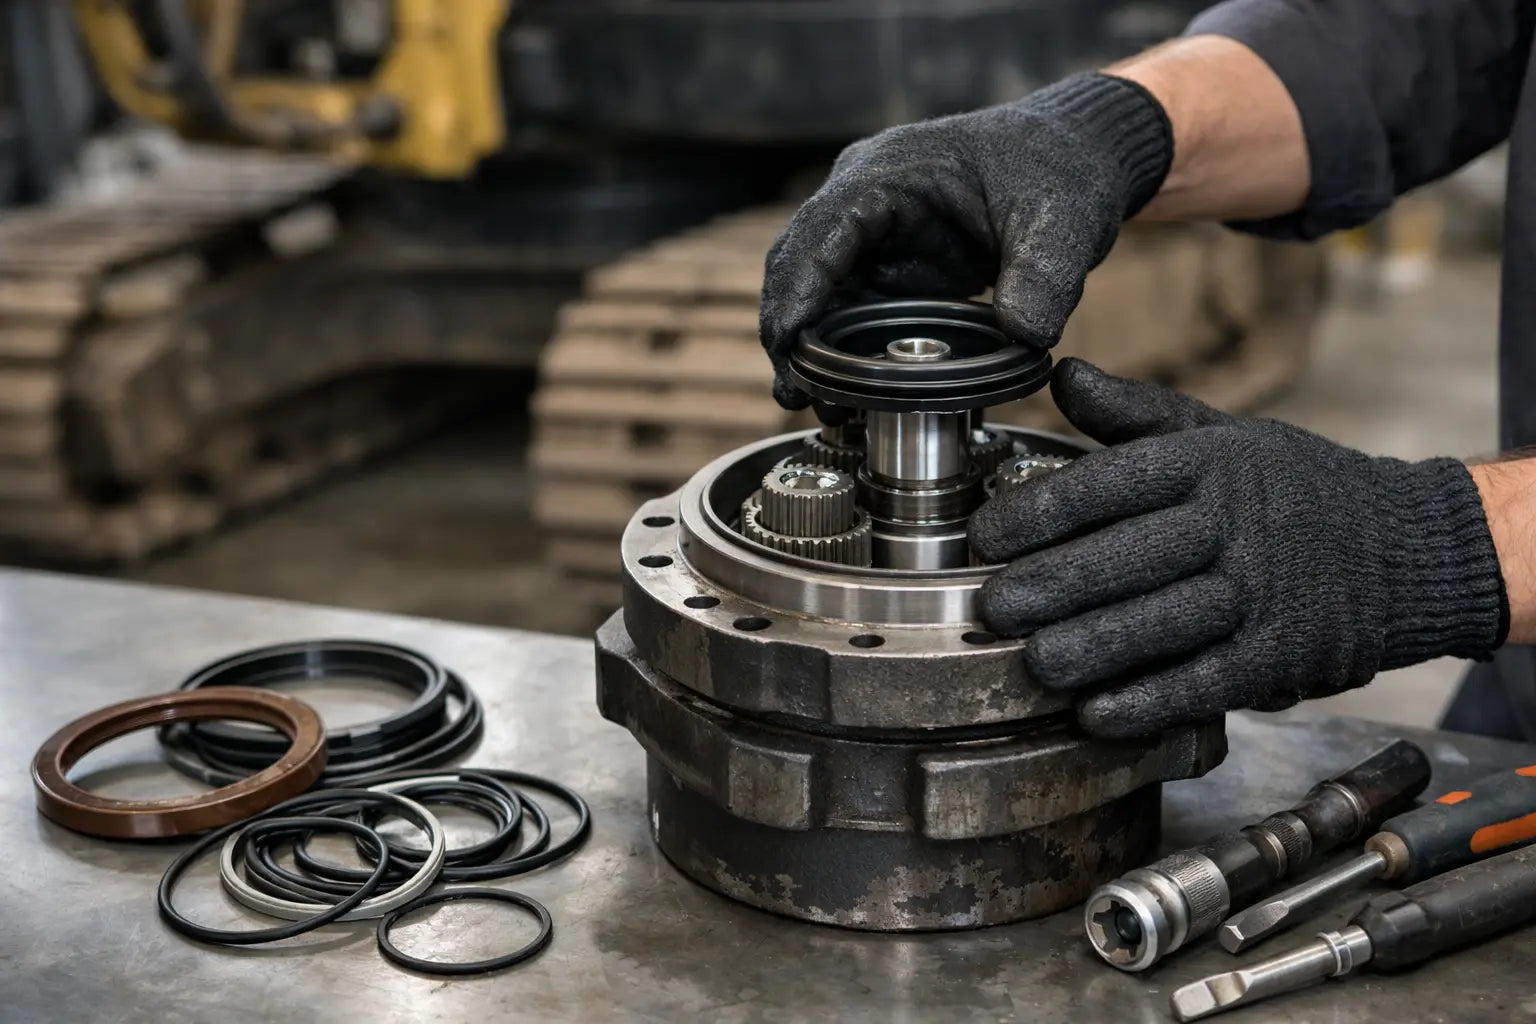
A wet track frame does not automatically mean the hydraulic travel motor has failed. On most excavators, oil can escape from the motor shaft area, the final drive reduction case, the sprocket-side mechanical seal, a hose connection, or a cover O-ring. Before you replace excavator travel motor seals, identify the fluid type and exact leak path. That diagnosis determines whether the repair needs a motor seal kit, a floating seal set, bearings, or a complete final drive inspection.
A wrong seal kit delays the repair twice: once while the machine is down and again when the correct parts must be sourced. For fleet maintenance teams and independent repair shops, clean inspection, accurate dimensions, and part-number verification are the fastest route back to service.
Confirm Where the Leak Starts
Clean the complete travel motor and final drive assembly before disassembly. Remove packed dirt around the sprocket, drain plugs, motor flange, hydraulic ports, and case drain connection. Then run the machine only as needed to locate fresh oil.
Hydraulic oil is normally lighter in color and may appear at the motor body, brake cover, hydraulic fittings, or motor input shaft. Gear oil from the planetary reduction section is generally heavier and often carries a distinct sulfur gear-oil odor. A leak at the sprocket hub may involve the floating seal assembly, commonly called a duo-cone or mechanical face seal, rather than the internal hydraulic motor seals.
Also check oil levels before removing components. A final drive that repeatedly loses gear oil can damage planetary gears and bearings. A hydraulic motor with excessive case pressure can push out a new shaft seal unless the underlying restriction, worn motor group, or blocked case drain is corrected.
Parts and Information to Verify Before Removal
Travel drives vary by excavator model, serial range, and final drive manufacturer. Do not rely on machine tonnage alone. A 20-ton excavator may have different travel motor and reduction-drive arrangements across production years or regional specifications.
Record the excavator make, model, serial number, travel motor tag number, final drive tag number, and any OEM part numbers stamped on the removed seal or housing. Photograph hose routing, port positions, shims, retaining plates, and brake cover orientation before opening the unit. These details prevent assembly errors when the drive returns to the machine.
For a proper seal order, verify the seal type and working dimensions: inside diameter, outside diameter, width, lip direction, and material where known. For floating seals, match the seal ring diameter, O-ring cross section, and final drive application. If the motor is being rebuilt, identify every dynamic seal, static O-ring, backup ring, piston seal, and brake-section seal included in the required kit.
Use new retaining rings, lock washers, and damaged fasteners where the manufacturer specifies replacement. Reusing a distorted snap ring or a scored seal retainer is false economy on a component that is difficult to access once installed.
How to Replace Excavator Travel Motor Seals Safely
Travel drives are heavy assemblies with stored hydraulic pressure and high-torque fasteners. Support the machine on firm, level ground, lower the attachment, isolate the hydraulic system, and follow the equipment manufacturer's lifting and lockout procedures. Keep the travel drive supported with rated lifting equipment before removing mounting bolts.
Remove the Drive Without Contaminating It
Drain hydraulic oil and gear oil into clean, labeled containers if the fluids will be inspected. Disconnect hydraulic hoses only after pressure has been relieved, then cap both hoses and ports immediately. Dirt entering a travel motor can damage the rotating group within minutes of restart.
Remove the sprocket or travel drive according to the machine layout. Some drives can be removed with the sprocket attached; others require separation after the drive is on a bench. Mark the relative positions of housings and covers. If shims are present, keep them in order and measure their combined thickness before removal.
On the bench, clean the exterior again. Remove covers evenly and note the position of springs, brake plates, balance plates, and thrust washers. Do not pry against a machined sealing face. A small gouge at the bore or seal land can defeat a new seal immediately.
Inspect the Cause, Not Only the Failed Seal
After accessing the seal, inspect the shaft and bore under strong light. A seal lip running on a grooved shaft will leak even when the replacement is correctly installed. Depending on the design, the repair may require a shaft sleeve, shaft replacement, or a seal positioned slightly differently on an unworn surface.
Check bearing condition, shaft end play, and the condition of the motor case drain circuit. Excessive bearing movement opens the seal lip under load. A restricted case drain raises internal pressure. Either condition can explain repeated failures after what appears to be a routine seal replacement.
For sprocket-side floating seals, inspect both metal faces for chips, heat marks, cracking, or uneven contact bands. Replace the pair when the faces are damaged or when the elastomer rings have hardened, flattened, or stretched. Keep the lapped metal faces clean. Fingerprints, grit, and incorrect seating can cause a fresh gear-oil leak at startup.
Install Seals With the Correct Orientation
Lubricate conventional oil seal lips with the fluid they will retain unless the seal manufacturer specifies a dry installation. Use a proper driver that contacts the rigid outer case, not the lip or spring. Install the seal squarely to the specified depth. A cocked seal can cut its lip on the shaft during the first rotation.
Install O-rings without twisting or rolling them into place. Use assembly lubricant compatible with the seal material and operating fluid. Sharp spline edges, keyways, and threads should be protected with an installation sleeve or thin protective film so they do not cut the new seal lip.
Floating seals require equal, even seating in their housings. Fit each rubber ring cleanly and without grease on the external seating surfaces unless the manufacturer specifically calls for lubricant. Bring the metal seal faces together carefully, confirm uniform compression, and avoid levering the faces against each other.
Reassemble the motor and reduction components in the documented order. Apply manufacturer torque values and tightening sequences for cover bolts, sprocket fasteners, and mounting bolts. Torque is not a guesswork item on a travel drive. Incorrect clamping can distort a cover, loosen under travel load, or damage threads in the housing.
Refill, Bleed, and Test the Final Drive
Refill the planetary case with the specified gear oil to the correct level position. Reconnect hydraulic hoses to their original ports, remove caps only at the point of connection, and check that the case drain line is not pinched or restricted.
Before full-speed travel, run the track slowly with the drive off the ground where safe procedures allow. Travel forward and reverse at low speed, stop, and inspect the motor body, brake cover, hose connections, and sprocket-side area for fresh oil. Listen for abnormal noise and monitor the final drive temperature during the initial operating period.
Recheck gear-oil level after the first test cycle. If a leak returns, do not simply fit another seal. Check case pressure, shaft runout, bearing play, housing condition, and the actual source of fluid. Repeated seal failure is usually a symptom of a mechanical or hydraulic condition outside the seal itself.
Order the Right Travel Motor Seal Kit
A complete repair is faster when seals, O-rings, floating seal components, bearings, and related oil seals are identified before the drive is opened. Match by OEM number or final drive tag whenever available, then confirm dimensions and application. This is especially important for Caterpillar, Komatsu, Hitachi, Hyundai, SANY, LiuGong, XCMG, and other platforms that may use multiple drive suppliers across a model range.
MXPseal supports trade buyers with machine-specific seal kits, oil seals, bearings, and replacement parts matched by part number, model, and dimensions. When the original number is unreadable, provide clear measurements and photos of the seal profile, along with the motor or final drive identification plate. Accurate information shortens the parts search and helps avoid an incorrect fitment.
A clean bench, verified seal specification, and inspection of the shaft and case drain are worth more than a rushed repair. Get those three points right, and the repaired travel drive has a far better chance of staying dry through the next demanding work cycle.