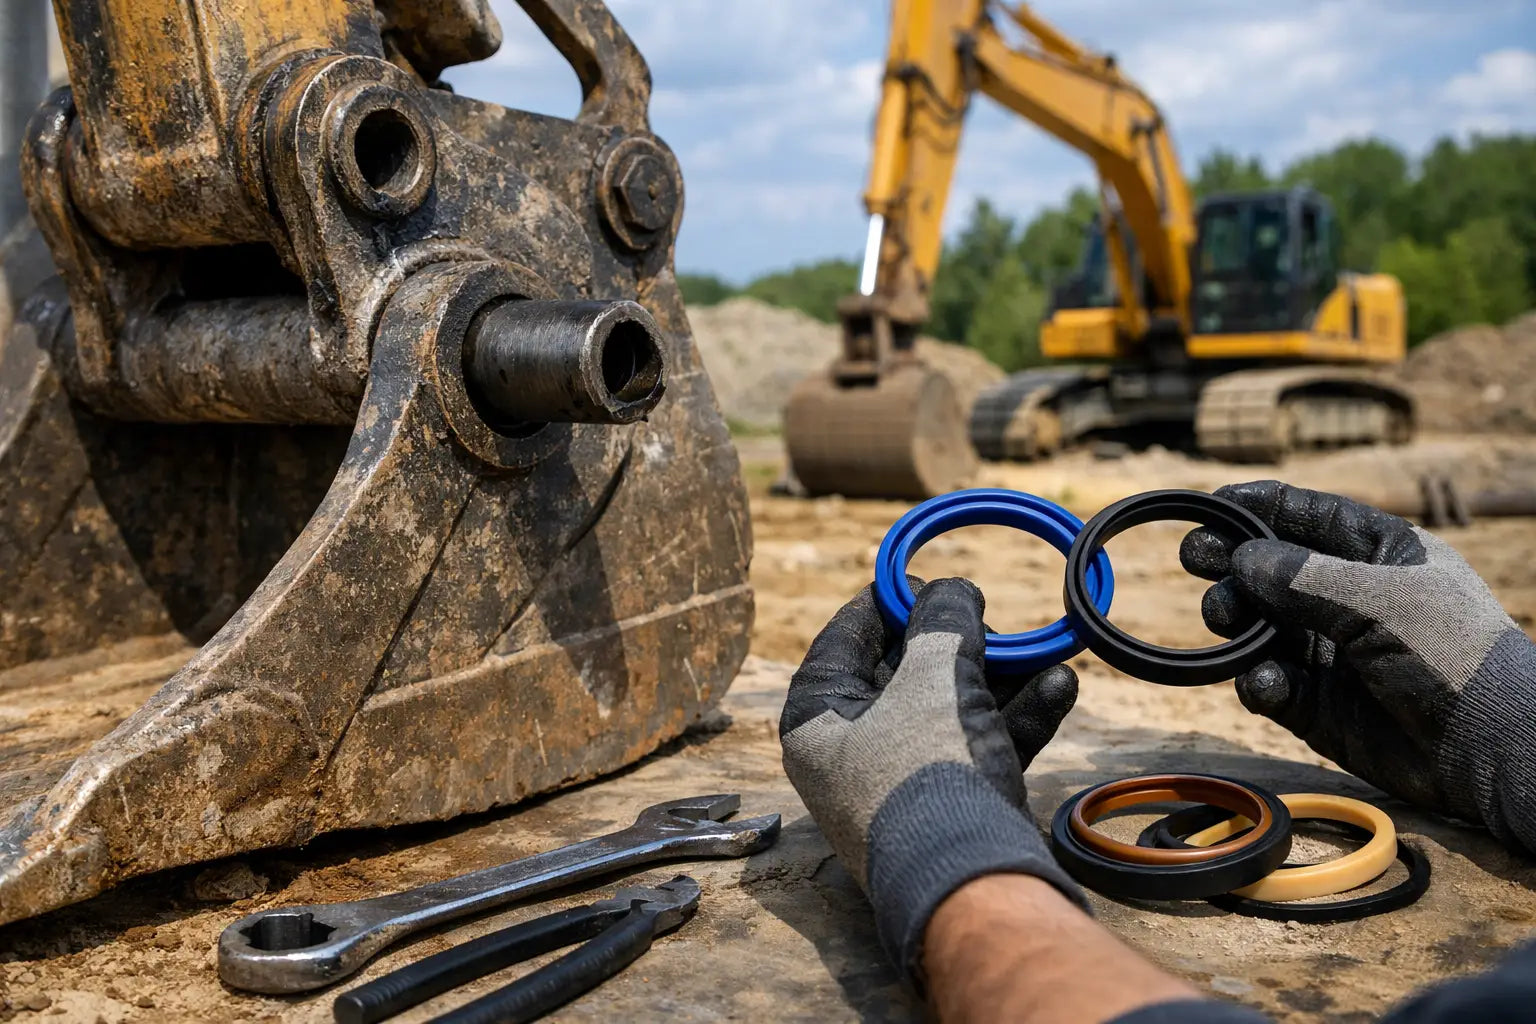
A bucket cylinder that leaves an oil trail down the rod is not a minor cosmetic issue. It can quickly become lost digging force, contaminated work areas, and an unplanned machine stoppage. Knowing how to replace bucket seals correctly helps restore cylinder performance, but the job depends as much on clean handling and exact kit matching as it does on fitting new seals.
This procedure applies to the hydraulic bucket cylinder on excavators, backhoes, and similar earthmoving equipment. It does not cover bucket linkage pin seals, dust seals, or grease seals, which require a different inspection and repair approach.
Confirm the Bucket Cylinder Is the Source of the Leak
Start by cleaning the cylinder, hose connections, and surrounding structure. Run the bucket through several controlled cycles, then inspect where fresh oil appears. A rod seal leak usually shows as hydraulic oil collecting around the gland or running down the chrome rod. Oil at a hose fitting, cylinder port, or damaged tube weld can look similar from a distance.
Check the rod condition before ordering parts. A scored, pitted, bent, or rusted rod will damage a new rod seal quickly. Likewise, a worn or distorted gland can prevent the wiper and seal from sitting correctly. If the rod is damaged, replacing the seal kit alone may only provide a short-term fix.
Cylinder drift is another useful clue. If the bucket creeps while the machine is parked or held in position, the piston seals may be bypassing internally. An external rod leak and internal bypass can occur together, so a full BUCKET KIT is usually the practical repair choice when the cylinder is already opened.
Match the Correct Bucket Seal Kit Before Disassembly
Do not identify a seal kit by machine class alone. A 20-ton excavator can have different bucket cylinder part numbers depending on serial range, boom configuration, production year, and market specification. Even cylinders fitted to the same model may use different rod diameters, piston designs, or gland profiles.
The most reliable starting point is the cylinder assembly part number or OEM seal kit number. If that is unavailable, record the machine make, model, serial number, cylinder location, and all usable markings on the barrel or gland. Measure only after stripping the cylinder, unless verified dimensions are already available from the OEM specification.
For dimensional matching, confirm the rod diameter, cylinder bore, piston width, gland bore, seal groove width, and groove depth. Also identify the seal construction. A typical bucket cylinder kit can include a rod seal, buffer seal, wiper, piston seal, wear rings, O-rings, backup rings, and sometimes static gland seals. These profiles are not interchangeable simply because they have similar outside dimensions.
MXPseal stocks machine-specific BUCKET KIT options as well as dimensional hydraulic seals, which is useful when a cylinder has been changed, rebuilt, or fitted with a nonstandard gland. Exact part-number and measurement verification reduces repeat downtime and unnecessary return handling.
Prepare the Machine and Work Area Safely
Hydraulic cylinders contain stored energy. A suspended bucket, pressurized line, or unsecured cylinder can cause severe injury. Park on level ground, lower the attachment fully, shut down the machine, and release hydraulic pressure according to the equipment manufacturer’s procedure. Lock out the machine if it is being repaired in a shared workshop or jobsite area.
Before removing the cylinder, support the bucket and linkage so no component can move when pins are withdrawn. Use suitable lifting equipment for the cylinder weight. Large excavator bucket cylinders are not safe to handle manually, and the rod must not be allowed to strike the ground or contact abrasive surfaces.
Keep the repair bench clean. Dirt introduced during assembly is a common cause of early seal failure. Use clean hydraulic oil for lubrication, lint-free wipes, plastic or brass picks where possible, and protected storage for removed parts. Avoid screwdrivers or sharp steel tools on gland bores and seal grooves.
Remove and Strip the Bucket Cylinder
Disconnect hydraulic hoses only after pressure has been released. Cap the hoses and cylinder ports immediately to prevent contamination and limit oil loss. Mark hose positions if there is any risk of incorrect reconnection.
Remove the retaining hardware and cylinder pins, then move the cylinder to the bench. Before opening the gland, wipe the barrel and gland threads thoroughly. On many excavator cylinders, the gland is secured by a threaded retainer, wire ring, snap ring, or locking screw arrangement. Identify the retention method before applying force.
Use the correct gland wrench, spanner, or suitable service tool. Improvised striking can deform a gland, damage threads, or create metal debris inside the cylinder. Once the gland is released, pull the rod and piston assembly straight out of the barrel. Support its weight throughout the movement to protect the rod surface.
Drain remaining oil into an approved container. Remove the piston retaining nut or bolt using the manufacturer’s specified method. Some assemblies use staking, thread locking compound, or a defined tightening torque. Record the installed order and orientation of all piston components before removal, especially wear rings, backup rings, and directional piston seals.
Inspect Every Hard Part Before Installing New Seals
A seal kit cannot compensate for mechanical wear. Inspect the cylinder barrel for scoring, corrosion, and signs of cavitation. Light polishing marks may be acceptable, but grooves that catch a fingernail can cut seals or allow bypass. Inspect the piston for damaged seal lands, sharp edges, and loose wear-ring locations.
Pay close attention to the gland. The rod seal groove, buffer groove, wiper location, and static O-ring groove must be clean and free of burrs. Check that the rod bushing has no excessive clearance. A worn bushing allows rod movement under load, placing side load on the rod seal and creating a repeat leak.
Inspect the chrome rod over its full working stroke. Minor discoloration is different from corrosion pits or deep scratches. If defects are in the travel area, repair or replace the rod before fitting the kit. Also inspect pin bores and bushes while the cylinder is removed. Loose bucket linkage can create shock loads that shorten cylinder seal life.
How to Replace Bucket Seals Without Damaging Them
Clean each groove again before assembly and compare every replacement seal against the removed component. Do not assume the old seal was correctly installed. A previous repair may have used the wrong profile or orientation.
Install the piston seals, wear rings, O-rings, and backup rings in the correct sequence. Some seals are directional, particularly U-cup rod seals, buffer seals, and certain piston seals. The pressure side must face the direction specified for that profile. If uncertain, verify the seal manufacturer’s installation guidance rather than guessing from appearance.
Warm stiff polyurethane seals slightly if needed, using a controlled and clean method. Never overheat them or use an open flame. Stretch seals only as much as necessary and allow them to recover in the groove. Use installation sleeves or cones for sharp threads, keyways, and rod edges. A seal nicked during fitting can leak immediately after startup.
Lubricate seals, wear rings, and cylinder surfaces with clean hydraulic oil compatible with the system fluid. Fit the piston assembly to the rod using the specified torque and locking method. Then install the gland on the rod carefully, protecting the new rod seal and wiper from the rod end and thread areas.
When inserting the rod assembly into the barrel, keep it square. Forcing a cocked piston past the barrel entrance can damage wear rings and piston seals. Tighten the gland and retainers to the machine manufacturer’s specification, then reinstall the cylinder using clean, lubricated pins and secure all retainers.
Test the Repair Under Controlled Conditions
Reconnect the hoses, remove caps, and check that all fittings are correctly tightened. Start the machine at low idle and cycle the bucket slowly several times without load. This purges air and lets the seals settle under controlled pressure.
Inspect the gland, ports, and hose connections for fresh oil. Then run the bucket through full travel and hold it briefly at working positions. Check for rod seal leakage, abnormal cylinder movement, external seepage, and drift. Do not place hands near a suspected pressurized leak. Hydraulic fluid can penetrate skin, so use cardboard or wood to locate a leak safely.
A dry gland after a few slow cycles is encouraging, but the real check comes after operating temperature and normal load. Reinspect the cylinder after the first shift or job cycle. If leakage returns quickly, look beyond the seal kit at rod damage, bushing clearance, barrel condition, system contamination, or excessive relief pressure.
Treat seal replacement as a controlled repair, not just a parts swap. The right BUCKET KIT, a clean bench, protected rod surfaces, and a proper post-repair test keep an urgent oil leak from becoming another avoidable downtime call.