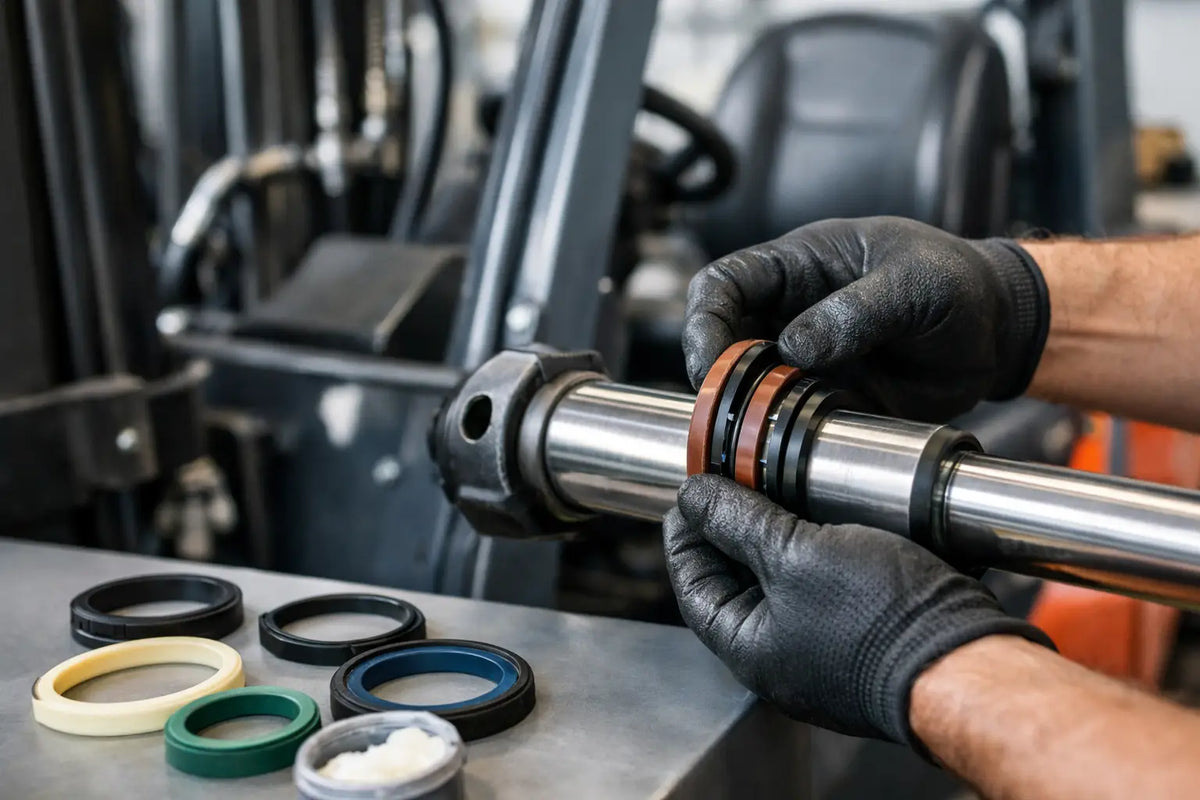
A tilt cylinder leak can quickly turn into a mast-control problem, lost hydraulic oil, and an out-of-service truck. When you install forklift tilt seals, the repair is only as reliable as the cylinder inspection, seal orientation, and rod handling that happen before reassembly. A new seal kit cannot compensate for a scored rod, damaged gland, or wrong seal profile.
Forklift tilt cylinders work under repeated load changes as the mast moves forward and back. They are exposed to side loading, contamination around the rod, and pressure spikes during operation. That makes correct fitment more important than simply matching a seal by outside diameter. Verify the forklift make, model, cylinder location, OEM part number, and cylinder bore and rod dimensions before opening the kit.
Confirm the Tilt Cylinder and Seal Kit
Most counterbalance forklifts use one or two tilt cylinders mounted between the frame and mast assembly. The cylinders may look similar to lift cylinders, but their dimensions, gland design, rod diameter, and seal stack can differ. Do not assume the left and right cylinders use the same kit without checking the machine parts information or measuring the removed components.
Start by identifying whether the leak is at the rod end, port connection, piston area, or cylinder tube. External oil around the rod usually points to worn rod seals, a damaged wiper, a worn guide ring, rod damage, or excessive gland clearance. Internal bypass may show up as slow mast drift or weak tilt response even when no external leak is visible. That condition can require piston seal replacement as well as a rod-end seal repair.
A correct kit commonly includes a rod seal, wiper seal, O-rings, backup rings, guide rings or wear bands, and piston seals where applicable. Kit contents vary by cylinder design. Match every component against the removed seal and the gland or piston grooves. Pay particular attention to cross section, lip direction, material type, and whether an O-ring requires a backup ring on one side or both sides.
If the cylinder has an OEM number, use it as the primary reference. If no number is available, record the bore, rod diameter, piston diameter, gland dimensions, seal groove widths, and groove depths. A close-looking seal with the wrong lip geometry can leak immediately or fail after a short service interval.
Prepare the Forklift Before Disassembly
Park the forklift on level ground, lower the forks, set the parking brake, and isolate the machine according to the manufacturer’s service procedure. The mast must be mechanically supported before any tilt-cylinder pin or hydraulic line is removed. Hydraulic pressure and mast weight are separate hazards. Relieving line pressure does not make an unsupported mast safe.
Clean the cylinder exterior, hose fittings, pin areas, and surrounding frame before disassembly. Dirt that enters the open cylinder will travel through the hydraulic system and can damage new sealing surfaces. Use clean caps or plugs on disconnected hydraulic lines and ports. Keep the removed parts on a clean bench, not on cardboard contaminated with shop debris.
Before removing the cylinder, mark its installed direction and note hose routing. Photographing the port locations and pin arrangement can prevent a reversed installation, especially on equipment with paired tilt cylinders. Drain oil in a suitable container and inspect it for metal particles, water contamination, or heavy discoloration. Contaminated oil can shorten the life of a new seal kit, so address the hydraulic-system condition rather than treating the cylinder as an isolated repair.
Remove and Inspect the Cylinder Components
After disconnecting the cylinder, secure it in soft jaws or a proper cylinder holding fixture. Do not clamp directly on the polished rod. Even small jaw marks can tear a new rod seal and create a repeat leak.
Remove the gland using the correct spanner, pin wrench, or manufacturer-specific tool. Improvised chisels and punches often damage retaining threads, spanner holes, and gland surfaces. Once the rod and piston assembly is removed, protect the rod from contact with the bench and inspect it under good lighting.
The rod should be smooth across the full working stroke. Look for chrome flaking, pits, rust, scoring, heat discoloration, and impact damage near the thread or pin end. Light marks may sometimes be polished within acceptable limits, but deep grooves or peeling chrome require rod repair or replacement. Installing new seals on a damaged rod is a false economy.
Inspect the cylinder bore as well. Vertical scoring, corrosion, or a damaged bore can cut piston seals and allow internal bypass. Check the gland for distorted seal grooves, cracked retaining areas, damaged threads, and excessive clearance around the rod. Examine the piston and wear bands for looseness, broken edges, or contact marks. If the cylinder was leaking due to side load from worn mast bushings or pins, correct that condition before reinstalling the repaired cylinder.
Install Forklift Tilt Seals in the Correct Order
Remove old seals with non-metallic picks wherever possible. Avoid dragging a screwdriver across aluminum glands, seal grooves, or the polished rod. Clean each groove thoroughly and verify that no hardened seal fragments, O-ring residue, or backing-ring pieces remain.
Install components one at a time, following the seal stack for that cylinder design. The wiper normally faces outward to exclude dirt from the rod. The rod seal lip must face the pressurized oil side, which is generally toward the cylinder interior. A reversed rod seal may appear acceptable during assembly but will not hold pressure correctly.
Some polyurethane U-cup seals can be carefully stretched during installation, while PTFE-based seals may require sizing tools or an installation sleeve. Do not over-stretch a seal or force it over sharp threads. Cover rod threads, keyways, and sharp edges with a thin installation sleeve or protective tape, then lubricate with clean hydraulic oil compatible with the system fluid.
O-rings and backup rings deserve the same attention. Backup-ring position depends on the direction of pressure and the groove design. In a dynamic cylinder application, a backup ring installed on the wrong side can allow extrusion under pressure. If you are replacing a combined seal assembly or a proprietary gland seal, compare its profile carefully with the removed part before fitting it.
Guide rings and wear bands should sit fully in their grooves without twisting or standing proud. Their job is to keep the piston and rod centered, reducing metal-to-metal contact and protecting the sealing surfaces. A cylinder that goes together with excessive force may have a displaced wear band, an incorrectly sized seal, or a component installed in the wrong groove.
Reassemble Without Damaging New Seals
Lubricate the rod, piston, bore entry, and seals with clean system hydraulic oil. Introduce the piston and rod assembly straight into the barrel. A cocked entry can shave a piston seal or fold a lip. Use a proper compression sleeve if the seal design requires one.
Tighten the gland, piston nut, and retaining hardware to the forklift manufacturer’s specified torque. Thread-locking method, staking, or mechanical retention varies by design. Do not reuse damaged locking hardware or assume a generic torque value is suitable for every forklift cylinder.
Reinstall the cylinder in its original orientation. Inspect pins, bushings, clips, and mounting holes before fitting them. Worn tilt-cylinder pins or mast pivots can create side loading that rapidly destroys rod seals. Connect hydraulic hoses cleanly and ensure they are routed without twist, abrasion points, or strain through the full tilt range.
Test the Repair Under Controlled Conditions
Refill the hydraulic reservoir to the correct level and start the forklift according to site safety procedures. Cycle the tilt function slowly several times without a load, pausing at both ends of travel. This helps purge air and lets you check hose connections, gland areas, and ports for immediate leakage.
Then inspect the rod after several cycles. A light oil film during initial operation may be residual assembly lubricant, but continuous wetness, drips, or oil collecting around the wiper is not acceptable. Test the mast through its normal tilt range and watch for uneven movement, abnormal noise, or drift.
If the cylinder still leaks, stop and diagnose the cause rather than tightening parts beyond specification. Common causes include a reversed rod seal, incorrect kit dimensions, rod scoring, a damaged gland groove, excessive side load, or contaminated hydraulic oil. Correct fitment is faster than repeating the full repair.
For urgent forklift maintenance, source seal kits by OEM part number, machine model, or confirmed cylinder dimensions. MXPseal supports parts buyers with ready-stock industrial seals and equipment-specific replacement kits, helping maintenance teams reduce time spent searching for close but incorrect alternatives.
A clean cylinder, verified seal stack, protected rod surface, and controlled test cycle will do more for tilt-cylinder reliability than any shortcut at the workbench.