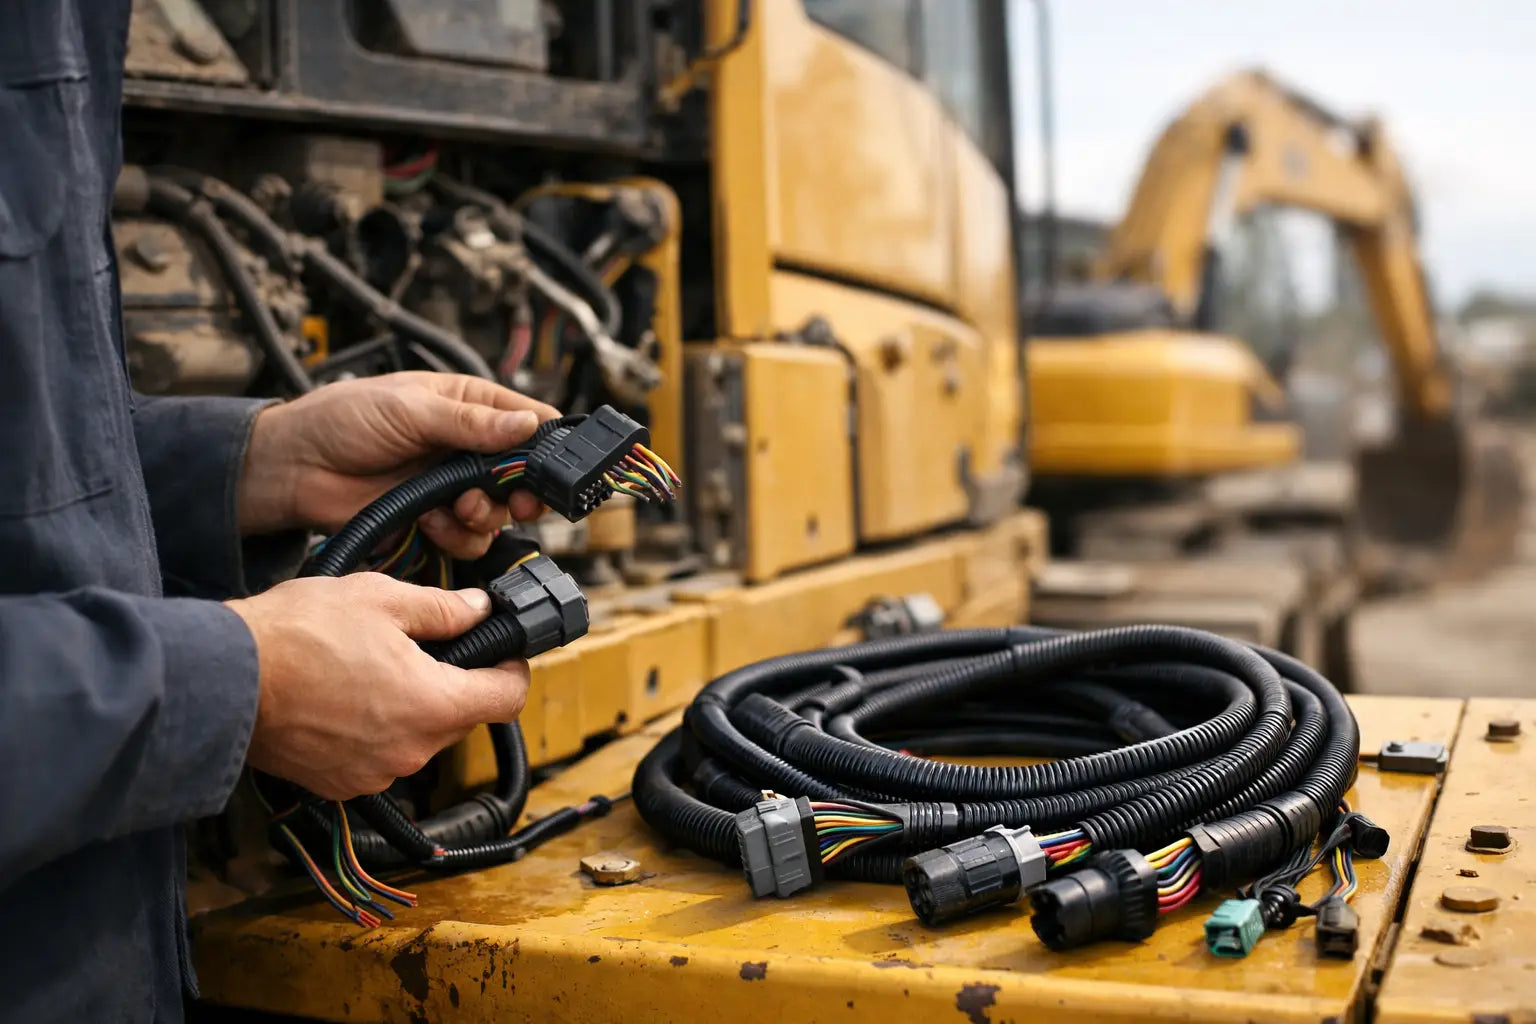
A damaged harness can stop an otherwise serviceable machine just as effectively as a failed hydraulic pump. Heavy equipment wire harness replacement is often treated as a simple electrical repair, but wrong connector keys, incorrect pin locations, poor routing, or an undersized wire can create repeat faults that cost more downtime than the original failure.
For excavators, loaders, forklifts, cranes, agricultural equipment, and other working machines, the right approach is to identify the failed circuit, confirm the machine-specific harness configuration, and install a replacement that can survive heat, vibration, moisture, oil, and abrasion. Speed matters, but fitment verification matters first.
When Heavy Equipment Wire Harness Replacement Is the Right Repair
Not every electrical fault requires a complete harness. A clean break in an accessible, low-current branch may be repaired with the correct wire gauge, sealed splice, and strain relief. A single damaged connector can also be replaced if the terminal type, cavity seal, and pin assignment are confirmed.
Replacement becomes the better commercial decision when damage is widespread or when the harness has become unreliable. Common examples include rodent damage through several branches, insulation hardened by engine-bay heat, repeated repairs at multiple locations, water intrusion in a main connector, or crushed sections under cab panels and articulation points. If conductors have gone green with corrosion beneath the insulation, repairing only the visible break rarely solves the underlying problem.
A complete or sectional harness is also preferred for circuits that affect machine control, CAN communication, engine management, safety interlocks, or hydraulic solenoids. These systems may show intermittent symptoms: a machine derates under load, a boom function cuts out, an attachment will not respond, or fault codes appear and disappear as the harness moves. Intermittent faults consume diagnostic time quickly. A verified replacement harness can be less expensive than repeated callouts and lost operating hours.
Start With the Fault, Not the Part Number
A harness part number is useful only when it matches the exact machine configuration. Before ordering, establish whether the fault is genuinely in the harness. Check power supply, grounds, fuses, relays, sensors, switches, and controller outputs before condemning the wiring.
Use the wiring diagram and machine serial number where available. Machine model alone is not always enough. Manufacturers may change engines, emissions systems, attachment controls, display panels, lighting packages, and controller layouts during a production run. A harness for one serial range may have the same overall shape as another but include different branches, connectors, or pinouts.
Inspect the harness while flexing suspect sections. Look closely at areas that move or rub: boom and stick routing, swing frames, cab tilt points, loader arms, articulation joints, battery trays, engine mounts, underfloor runs, and hydraulic valve banks. Oil-soaked loom, exposed copper, missing clips, melted conduit, and taped repairs are practical indicators that replacement should be considered.
For networked equipment, use the correct diagnostic process. Resistance checks, voltage-drop testing, continuity testing, and scan-tool data all have a place. A continuity reading alone does not prove a circuit is good under load. A conductor with only a few unbroken strands can pass a basic meter test but fail when a solenoid or actuator draws current.
Verify Harness Fitment Before You Order
Accurate identification prevents return delays and protects the repair schedule. Collect the old harness part number if readable, the equipment brand and model, serial number, engine model, and the application area. Terms such as engine harness, cab harness, chassis harness, boom harness, transmission harness, battery cable harness, and controller harness are not interchangeable.
Photographs help, especially when they show every connector face, branch length, mounting clips, grommets, labels, and damaged section. Do not rely on connector color alone. Connector suppliers and equipment manufacturers can use similar colors across unrelated circuits.
Confirm these details before purchase:
- OEM harness number and any superseded number
- Machine model, serial range, and engine or controller specification
- Connector count, connector keying, cavity count, and terminal style
- Branch lengths, clip locations, grommet positions, and protective sleeving
- Pinout or wire color references for critical circuits
What a Reliable Replacement Harness Must Handle
Heavy equipment harnesses operate in harsher conditions than passenger vehicle wiring. The loom may run beside hydraulic lines, behind hot exhaust components, through wet undercarriage areas, or across joints that flex every shift. The replacement must be specified for the actual environment, not just made to reach between two connectors.
Wire gauge must match the current load and circuit design. Using a smaller wire may cause voltage drop, heat buildup, or unreliable actuator operation. Using random wire colors makes future diagnostics slower and increases the chance of incorrect repairs. Where possible, retain the original color coding and wire marking.
Connector quality is equally critical. A connector body may look intact while its terminals have lost tension or corroded. Use terminals designed for the connector family, along with correct cavity plugs and wire seals. Crimping requires the appropriate tool and die. A poor crimp can pass a quick pull test yet fail after months of vibration.
Protection should suit the routing. Split conduit can be acceptable in low-abrasion areas, while braided sleeving, high-temperature loom, abrasion tape, rubber grommets, and sealed junctions may be necessary in more exposed locations. Avoid routing electrical harnesses tightly against hydraulic pipes, sharp brackets, or exhaust components. A harness needs enough support to prevent sagging but enough allowance to accommodate movement and service access.
Installation Practices That Prevent Repeat Failures
Disconnect battery power and follow the machine manufacturer’s lockout procedure before starting work. On electronically controlled machines, allow modules to power down as specified. Do not disconnect controller connectors with power active unless the service procedure explicitly permits it.
Remove the old harness methodically. Label connectors if their locations are not obvious, and photograph branch routing before removing clips and grommets. This saves time during installation and helps identify previous nonstandard repairs. Compare the replacement side by side with the original before fitting it. Confirm each branch and connector before the harness is buried behind panels or routed through the boom.
Install factory-style clips where possible. Cable ties are useful for secondary retention, but they should not be the primary support for a long harness or a branch exposed to movement. Do not overtighten ties around conduit. Compression can damage insulation over time, particularly where the loom vibrates against a bracket.
At connectors, inspect seals and mating faces before assembly. Clean out dirt and dry moisture without forcing metal tools into terminal cavities. Use dielectric grease only where the connector manufacturer or equipment service information calls for it. Excess material can interfere with terminal engagement in some connector designs.
Before reinstalling covers, test the circuits. Verify power and ground under load, check communication functions where applicable, operate the affected machine functions, and confirm no fault codes return. Then perform a movement check. Cycle the boom, steering articulation, cab tilt, or other moving assemblies while watching the new harness for pulling, pinching, or contact with sharp edges.
Do Not Let the New Harness Fail for the Same Reason
A replacement harness is only as reliable as the condition that caused the original damage. If a boom harness was cut by a failed clamp, replace the clamp. If the loom melted against an exhaust shield, correct the missing shield or routing issue. If water entered through a cracked connector seal, replace the damaged connector components rather than connecting a new harness to a compromised mate.
Rodent damage also requires more than new wiring. Inspect parking areas, machine storage conditions, and nearby nesting points. On equipment with repeated battery-box or cab-area damage, add appropriate physical protection and inspect the surrounding branches before releasing the machine.
Keep the removed harness until the repair is verified. Its labels, connector styles, wire colors, and routing marks can resolve questions during testing. Record the installed part number, machine serial number, repair date, and any related connector or clip replacements in the maintenance file. That record makes the next service decision faster and reduces the risk of ordering by guesswork.
The fastest repair is not the one that gets the machine started once. It is the one that restores the correct circuit, fits the machine configuration, and stays protected through the next thousand operating hours.